How to send OMA OTA settings SMS
This guide shows you how to send an OMA OTA (Over-the-Air) settings SMS using the Ozeki SMS Gateway. These special messages configure mobile devices remotely with settings like APN, internet, or MMS. They’re ideal for mobile operators and IT teams looking to simplify setup without manual input.
What is OMA OTA settings SMS?
An OMA OTA (Over-the-Air) settings SMS is a special type of message used to remotely configure a mobile device with network settings like APN, internet, or MMS parameters. It follows the Open Mobile Alliance (OMA) standards and allows phones to automatically apply configuration data without manual setup by the user.
When is it best to send a OMA OTA settings SMS?
It’s best to send an OMA OTA settings SMS when a mobile device requires quick and error-free configuration. This is particularly useful after inserting a new SIM card, when a user switches to a new network, during customer onboarding, or when providing APN and MMS settings without involving customer support. It’s also ideal for mass device provisioning in enterprise environments. By sending OMA OTA messages, service providers can streamline device setup, reduce support requests, and enhance the overall user experience.
How to send a OMA OTA settings SMS in Ozeki SMS Gateway (Quick Steps)
- Log in as the Admin user in the Ozeki SMS Gateway
- Click "View message types" to access special message formats
- Select "OMA OTA" as the message type
- Fill in settings such as APN, proxy, and other configuration values
- Enter the recipient's phone number and press OK to send
How to send a OMA OTA settings SMS in Ozeki SMS Gateway (Video tutorial)
In this video, you'll learn how to send an OMA OTA SMS with Ozeki SMS Gateway. After logging in as Admin, you’ll select the "OMA OTA" message type, fill in settings (like APN and proxy), and send the SMS. The phone will prompt the user to apply the settings. Perfect for fast, remote device configuration.
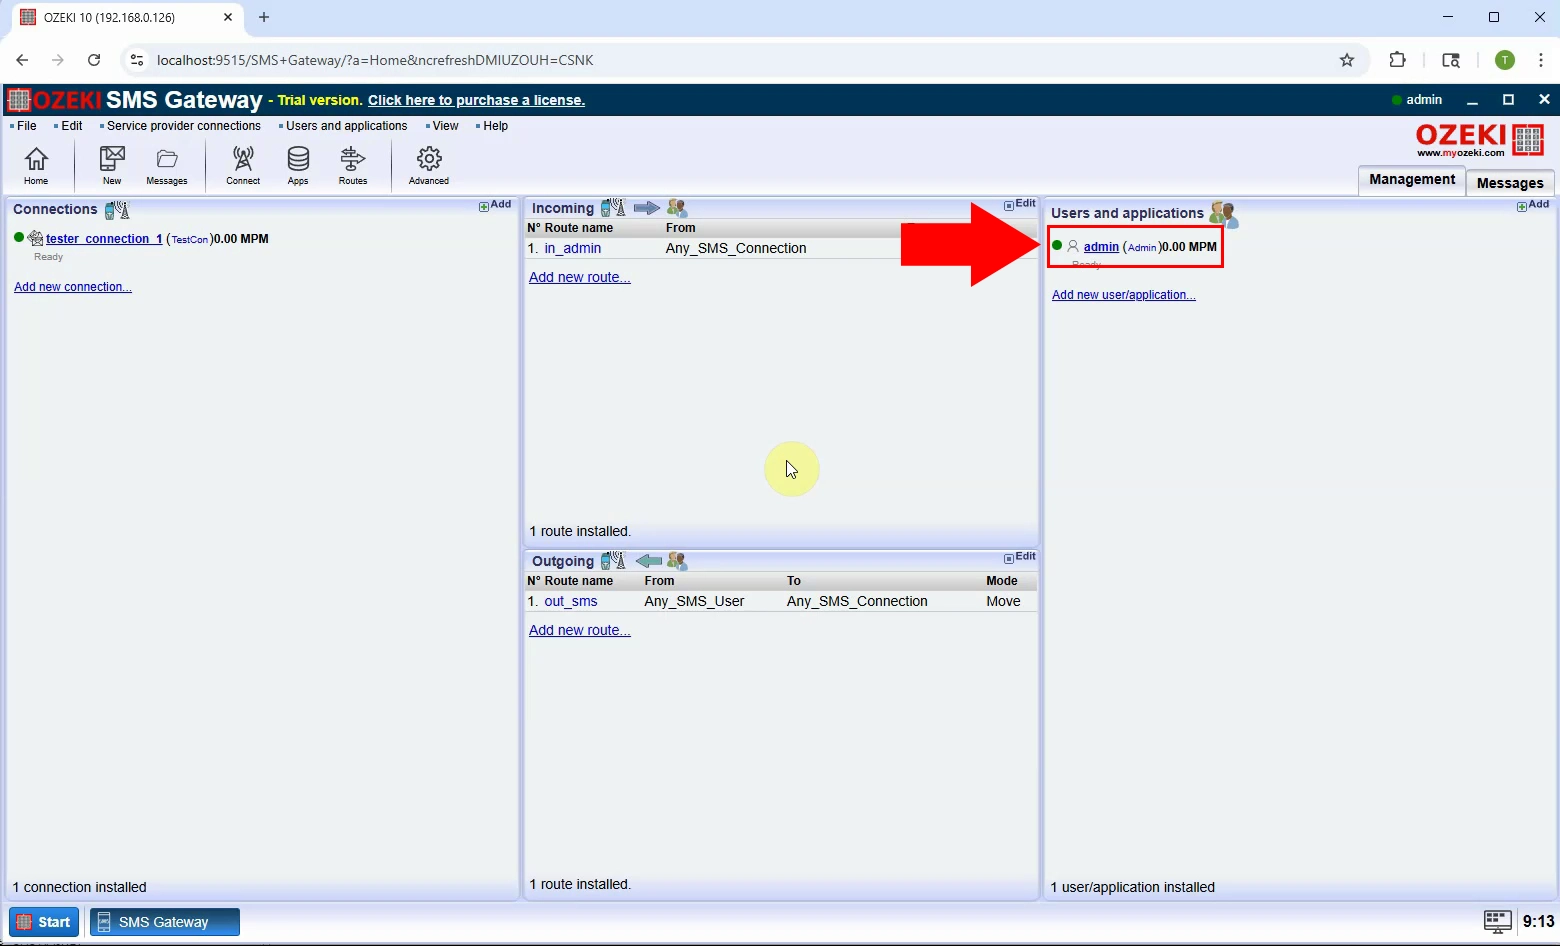
Step 1 - Select Admin user
Log in to the Ozeki SMS Gateway and choose the Admin user from the dashboard. Only the Admin has access to special message types like OMA OTA (Figure 1).
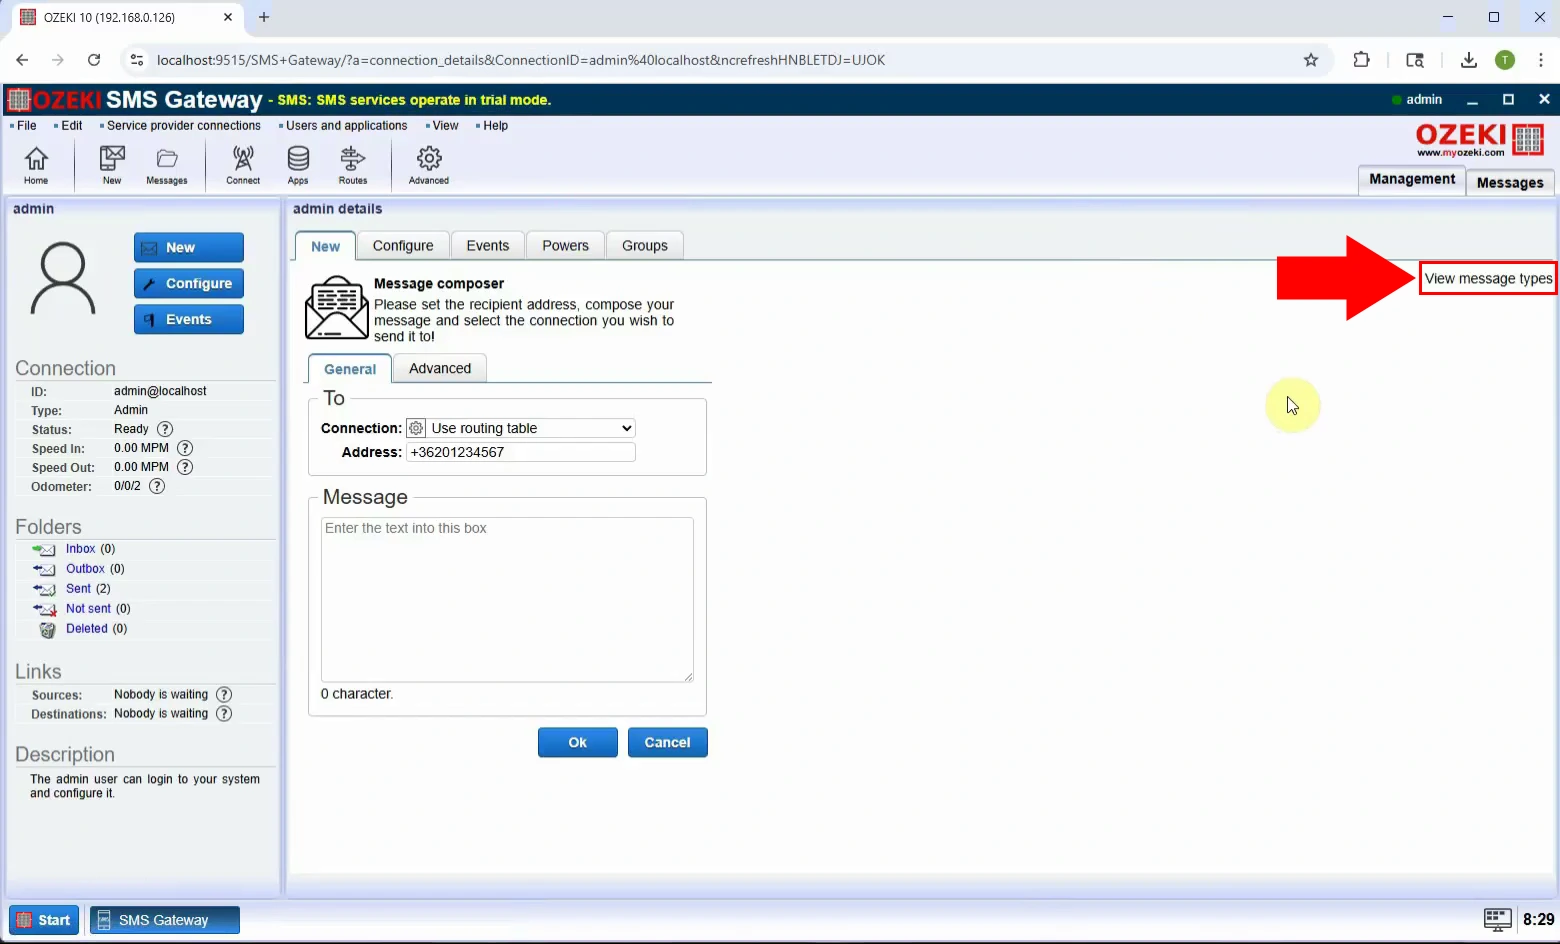
Step 2 - View message type
Inside the Admin interface, click "View message types" to open the list of advanced SMS formats you can send (Figure 2).
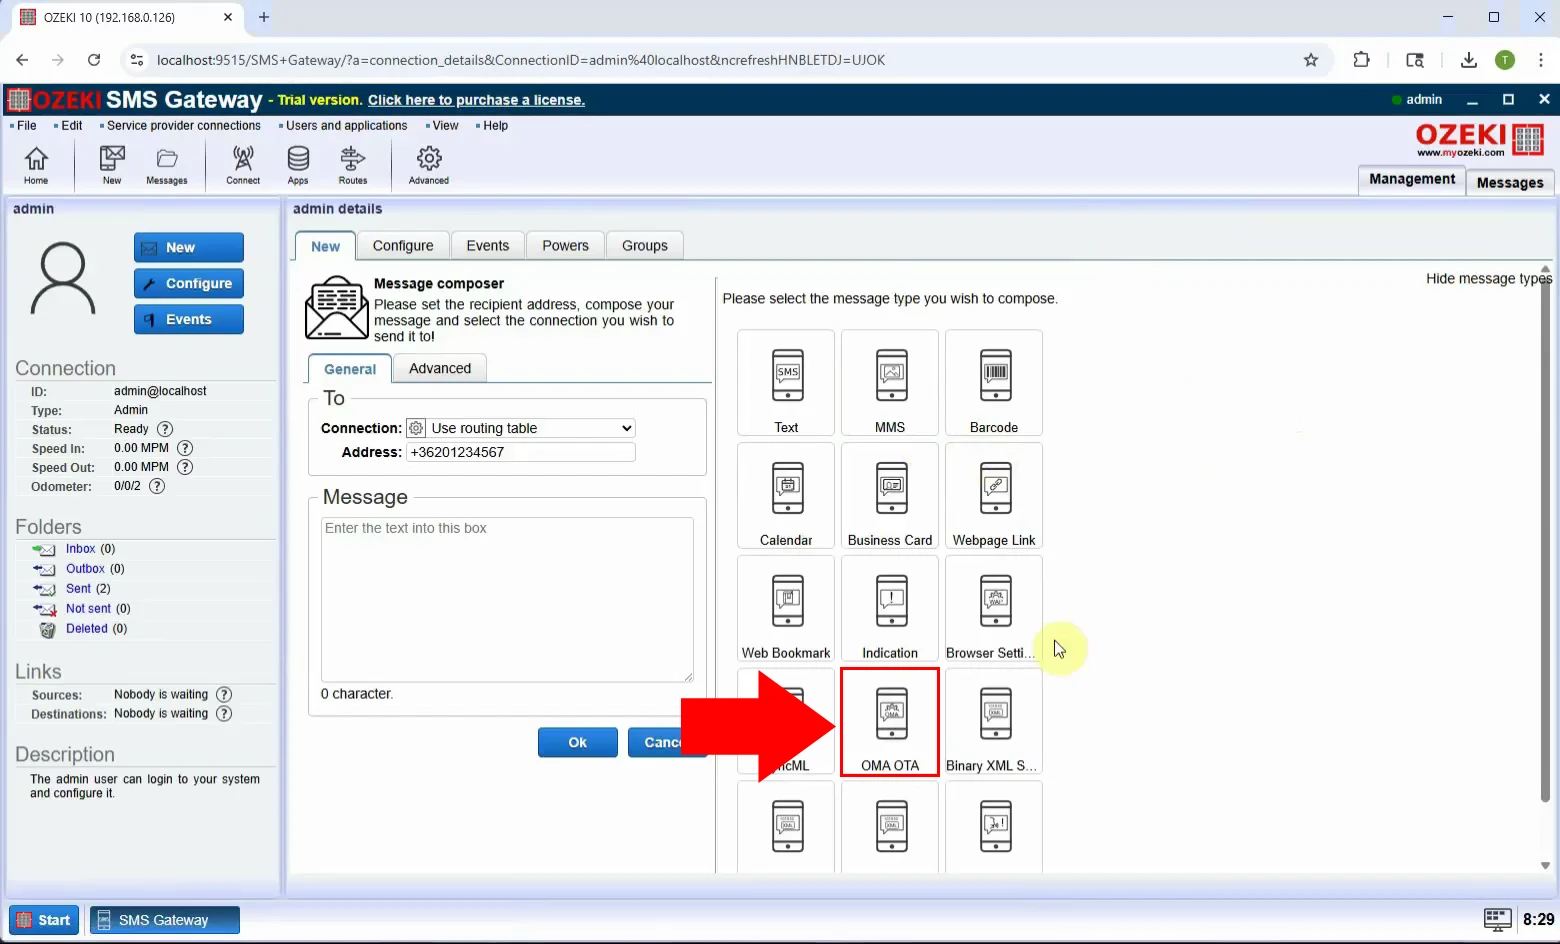
Step 3 - Select OMA OTA type
From the message type list, select "OMA OTA". This will bring up fields specifically for over-the-air device configuration settings (Figure 3).
Step 4 - Set message settings
Enter the configuration details, such as APN, proxy address. These settings will be applied on the recipient's mobile device (Figure 4).
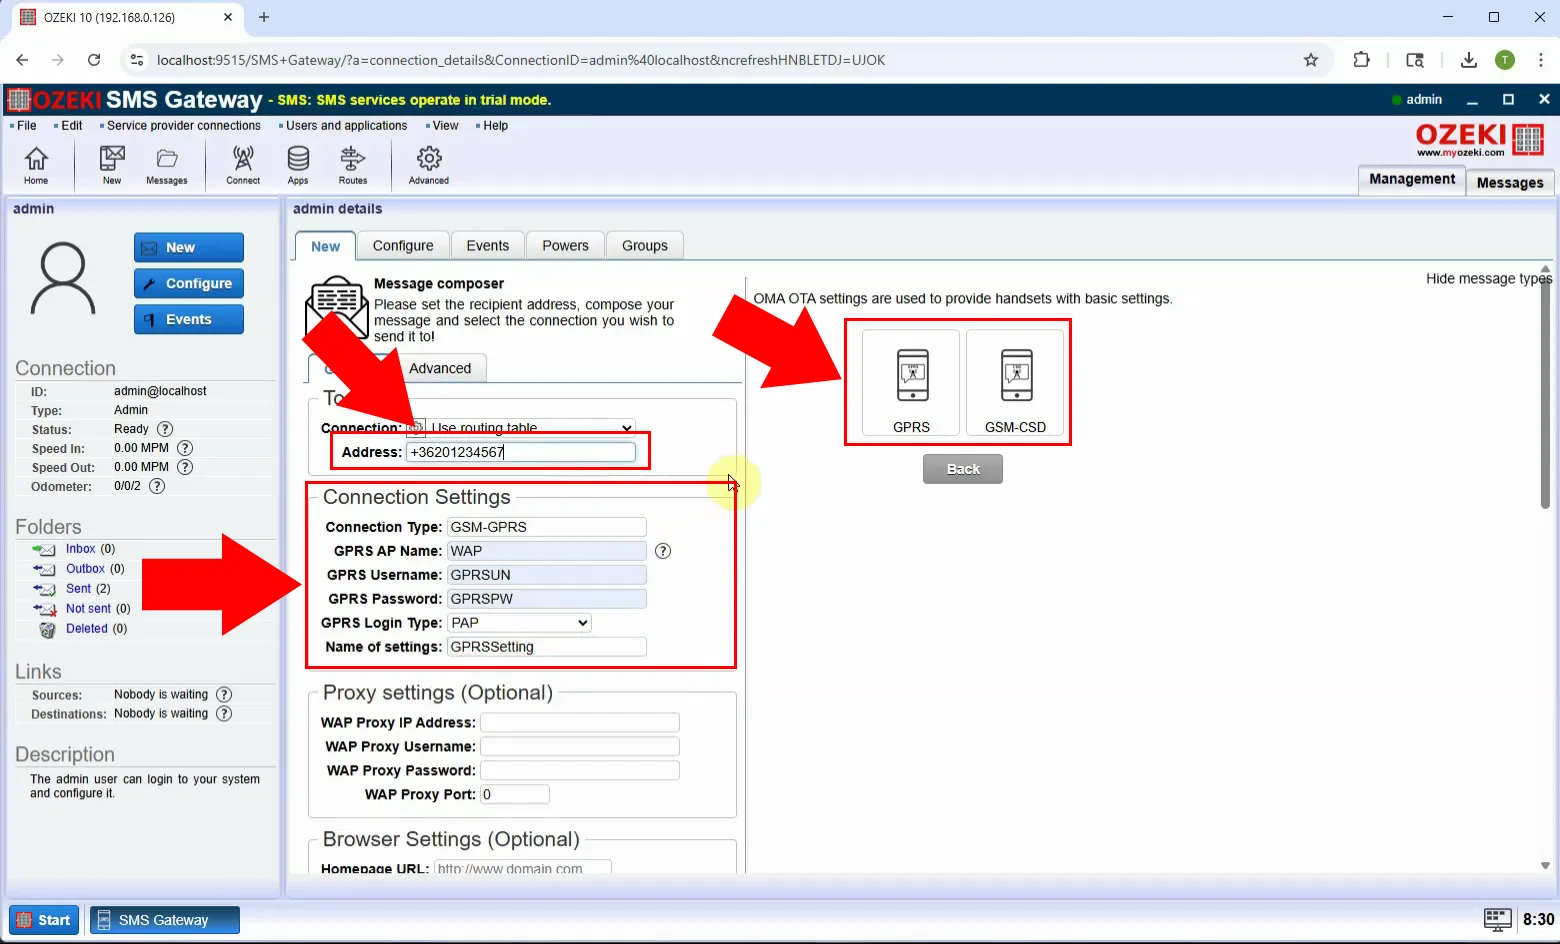
Step 5 - Send message
Type in the recipient’s phone number and click "OK" to send the OTA SMS. Make sure all configuration fields are filled correctly (Figure 5).
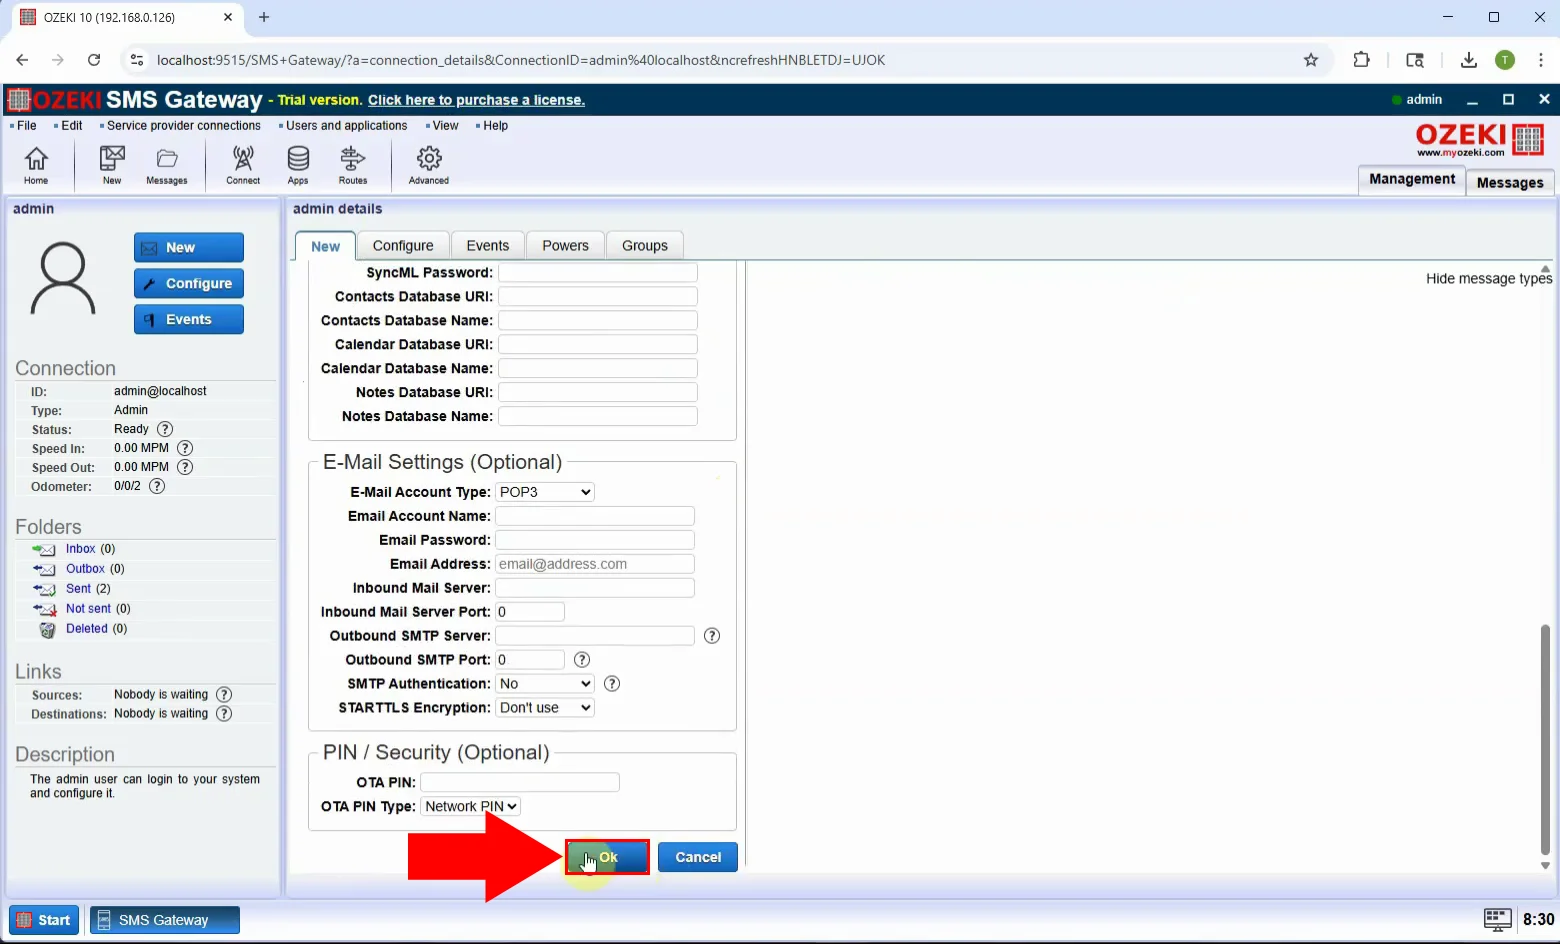
Step 6 - Message sent
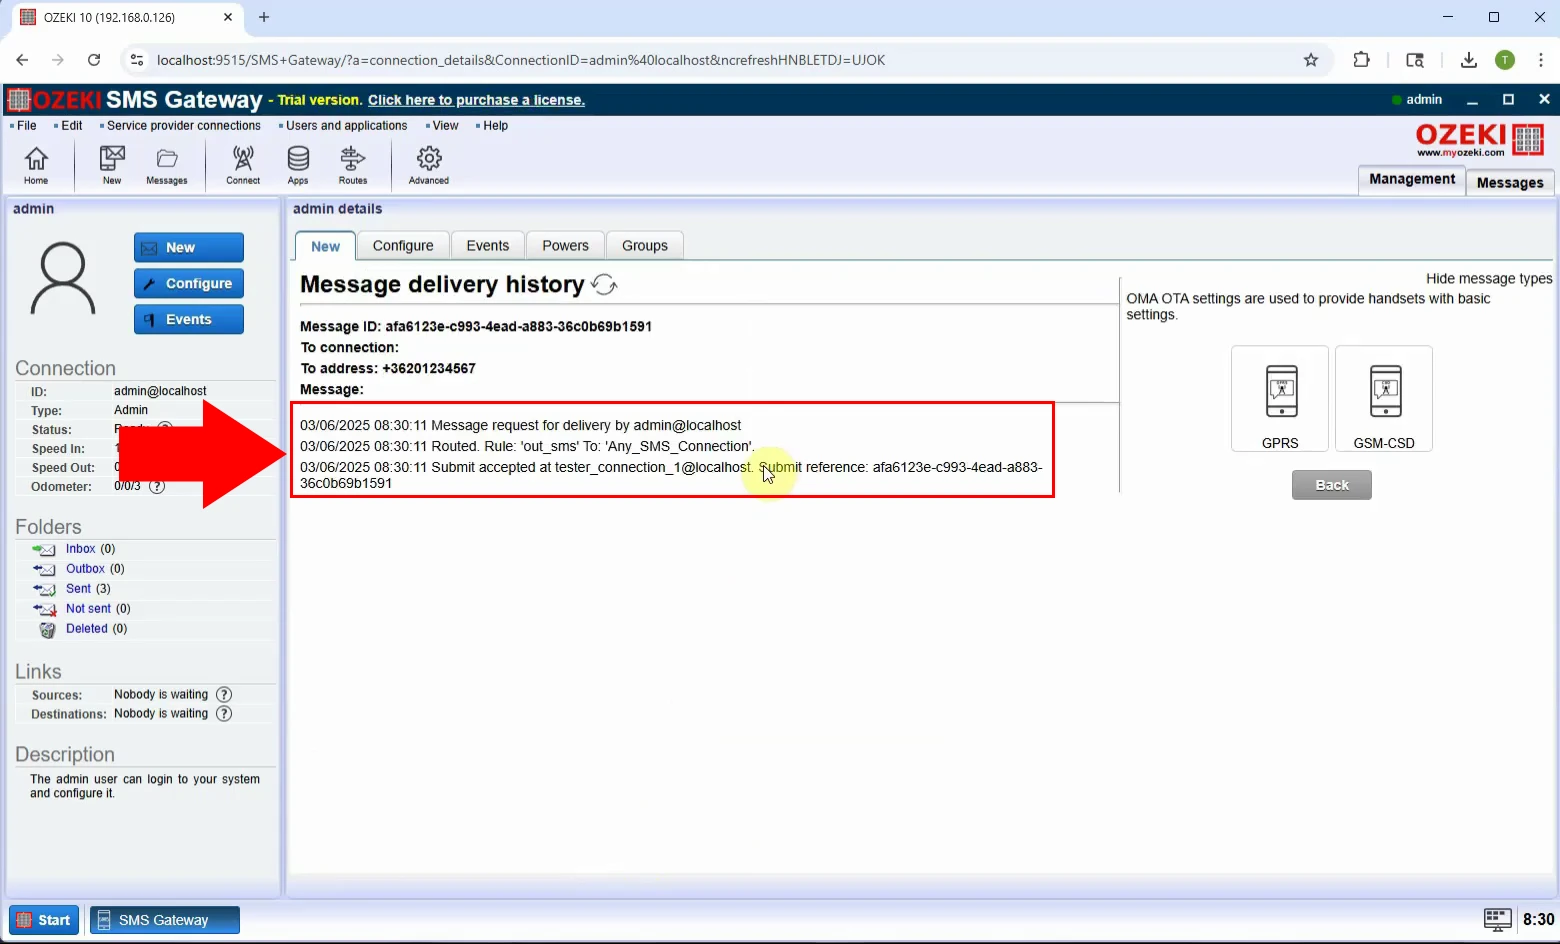
A confirmation will appear once the SMS is sent. The recipient’s device will display a prompt to apply the received internet/MMS settings (Figure 6).
