How to test your localhost HTTPS connection
The following guide introduce you how you can test your local HTTPS connection. To run the test, you need to download the HTTPSTester.zip file.
Step 1 - Make certificates
For using HTTPS, you need to generate self-signed certificates for it. For a self-signed certificate first, you need a CA certificate. To generate it please run the following command in the Windows command prompt (Figure 1). Make sure that you start the CMD with Administrator privileges.
makecert -n "CN=OzekiTest2CA" -r -sv OzekiTest2CA.pvk OzekiTest2CA.cer

During the generation you need to define a password for the certificate (Figure 2).

Now generate the Signed certificate by run the following command in the Windows command prompt (Figure 3).
makecert -sk OzekiTest2Signed -iv OzekiTest2CA.pvk -n "CN=OzekiTest2Signed"
-ic OzekiTest2CA.cer OzekiTest2Signed.cer -sr localmachine -ss My

During the generation you need to define a password for the certificate (Figure 4).

Step 2 - Install Certificates
Now you have to install the certificates to the computer's certificate store. First install the CA certificate. Open the certificate and click on the Install Certificate... button (Figure 5).

Select to install it to the Local Machine (Figure 6).

Now browse the Trusted Root certification Authorities store (Figure 7).

Finally finish the installation (Figure 8).

As you can see on the Figure 9 the installation was successful.

Next install the Signed certificate. Open the certificate and click on the Install Certificate... button (Figure 10).

Select to install it to the Local Machine (Figure 11).

Now browse the Personal store (Figure 12).

Finally finish the installation (Figure 13).

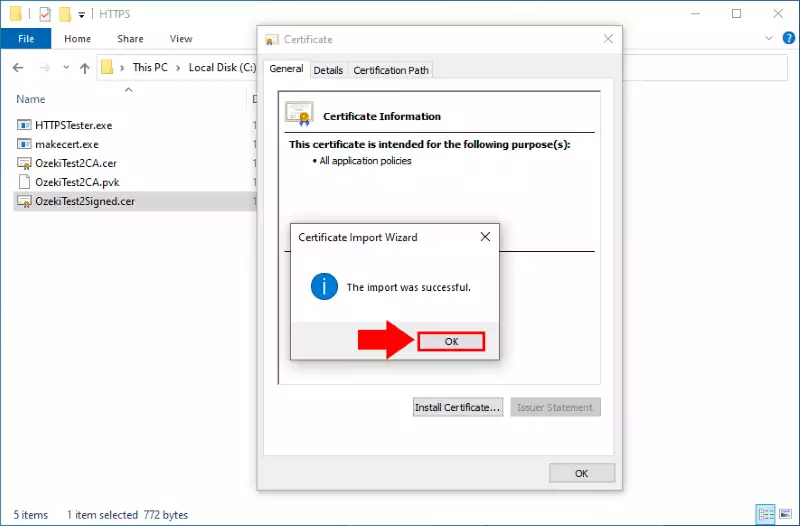
As you can see on the Figure 14 the installation was successful.
Step 3 - Bind certificate to the port
To bind the certificate to the proper IP and port pair you will need the Signed certificate's thumbprint. Copy it from the certificate's Details tab. (Figure 15)

Now run the following command in the Windows command prompt (Figure 16). The certhash will be the Signed certificate thumbprint what you copied before.
netsh http add sslcert ipport=127.0.0.1:9600 certhash=01bb60d624637ffbd1ec188da2e653525b83b933
appid={ae157398-cfe3-4fb4-96c7-83f6a8288cbd}

As you can see on the Figure 17 the binding is successful (Figure 17).

Step 4 - Test HTTPS listening
The final step is to test the HTTPS listening with the tester program. Run the Program as administrator (Figure 18).

Now open the https://127.0.0.1:9600 page in your browser. You will see the Hello World! if the connection is work (Figure 19).
