Send SMS from MySQL with PHP
To setup a php sms through MySQL solution on Linux servers with Apache PHP and MySQL we need 8 minutes. This document presents tutorial steps and the necessary information to help you complete this procedure efficiently. Ozeki SMS Gateway shall be used due to the fact that it offers several advantages. For example, it does not require direct connection between your system and the SMS service provider and it is easy to use for all connection types, because the same code can be used to send SMS through an Android Mobile phone or through an IP SMS connection, such as an SMPP link. We believe Ozeki SMS Gateway is an outstanding product. This page requires basic knowledge of sms software technology. You will be given some valuable information and detailed step by step instructions. We hope you will enjoy reading it. Let's get started!
Video content1. Download PHP File
2. Copy PHP File to webserver
3. Modify PHP File
4. Open webpage
5. Send test message
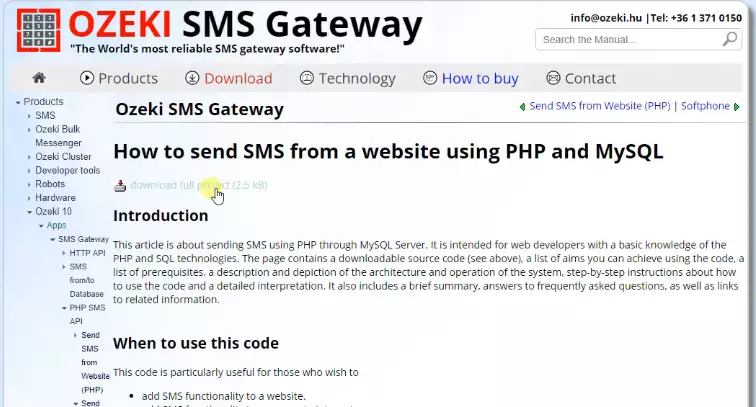
download full project (2.5kB)
If you scroll down, you can find screenshots that describe how to implement the MySQL database + PHP solution. Keep in mind that this PHP script can SELECT messages from tables as well, so you can visualize outgoing and incoming messages simultaneously in the same web browser. (Figure 1)
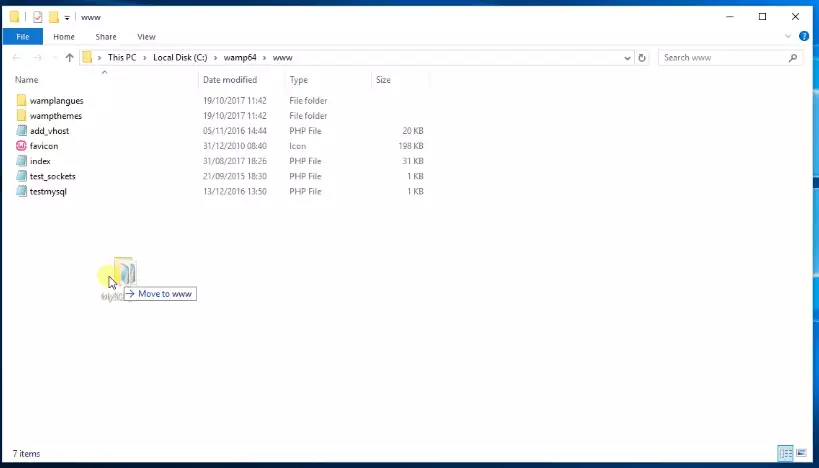
After you have downloaded the files, put them in the “www” folder of the webserver. This way, the downloaded files will affect the webserver’s work. You can see the destination folder in Figure 2.
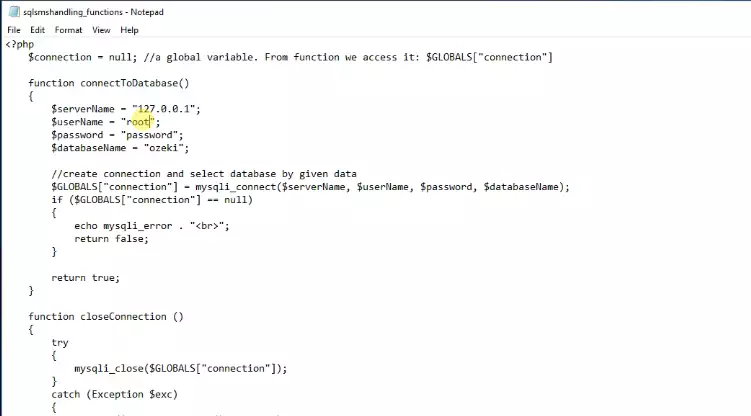
After you moved the files to the ”www”, you will find an “sqlsmshandling_functions.php” file in it open it to begin the modifying. You can open the file via Notepad. Search for a line called $userName = “user”. Rewrite it to $userName =”root”. You can find the line you are searching for easily with the help of Figure 3.
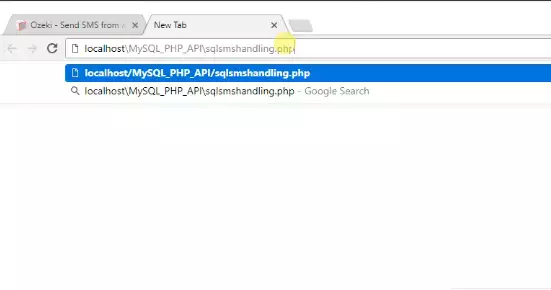
Once you have saved the changes, you can open the created webpage. Make sure to copy the access path of the file and copy it to the browser. You can see the name access path of our example file on Figure 4.
You can use this website to send messages. The “Recipient” will be the sender’s name once it is delivered, the “Message text” will be the message itself. If you want to send the letter, please click the “Send” button. You can inspect the webpage on Figure 5.
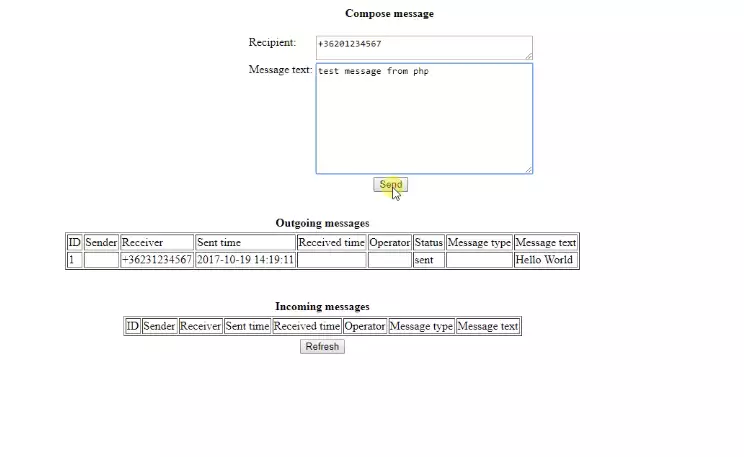
As you can see, once you hit the “Send” button, the message will be delivered to the destination. You can view the outgoing and incoming messages of our example program on Figure 6.
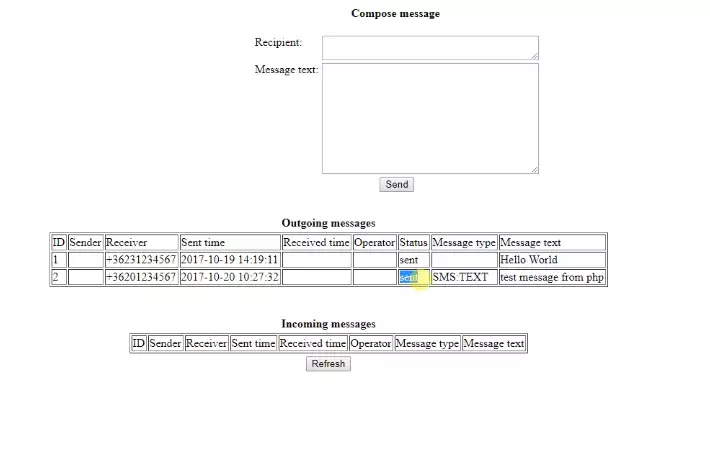
How to test sms sending with PHP
To test sms sending from your PHP code you have two options: You can use the built in sms tester connection or you can setup two sms gateways to have a more realistic testing environment. If you setup two sms gateways, the you need to configure the first SMS gateway as an SMPP simulator. This SMS gateway will provide SMPP server service to the second SMS gateway. It will operate the same way the SMSC of a mobile network operator would operate. The second SMS gateway will connect to the first using an SMPP client connection, and it will provide PHP SMS API service to your PHP application.
Final thoughts
We hope you didn’t get lost in the explanations. To review the procedure we can conclude, that to send sms or receive sms with the php sms through MySQL solution is quite easy. If you have already completed the steps, you can enjoy a well-deserved macchiato or some other treat you have in mind. If you would like to read more interesting facts about the advantages of other similar solutions, please open ozeki-sms-gateway.com. I hope this page will be useful to all the readers and especially to beginners.
