How to send Logs to Ozeki
This guide gives you information on how to send Logs of your Ozeki 10 system to Ozeki. The procedure is relatively easy. You need to stop the Ozeki service and compress the Logs directory. This directory contains all the log files.
How to send Logs to Ozeki (Quick commands)
To send Logs to Ozeki:
- Open Windows Services
- Stop Ozeki service
- Find Ozeki Logs folder
- Compress the Logs folder
- Login to your e-mail account
- Create a new e-mail
- Attach Logs.zip to the e-mail
- Send the e-mail to Ozeki
- Start the Ozeki service
Stop Ozeki service
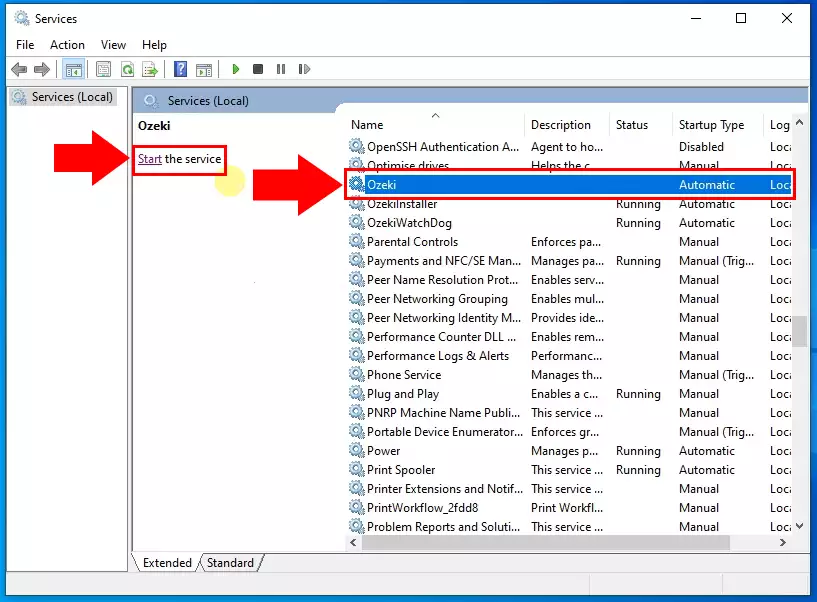
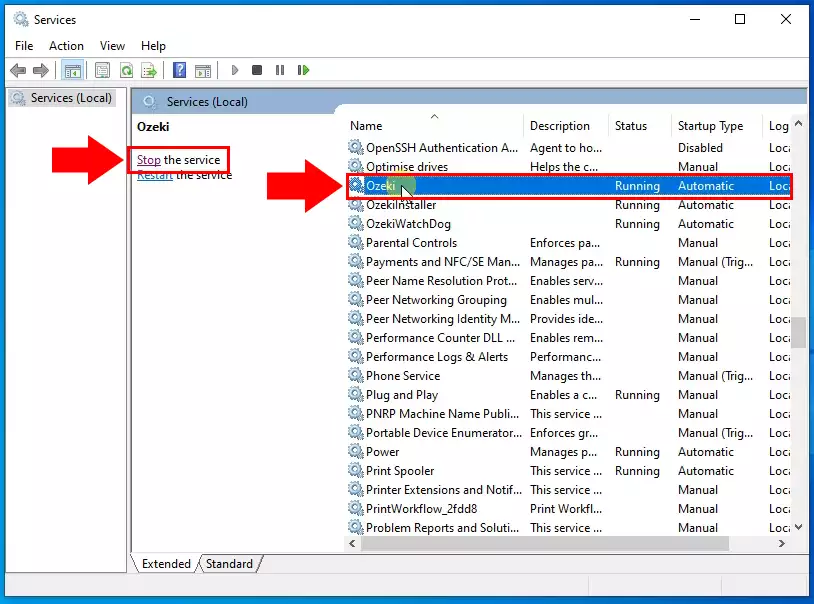
First step is to stop the Ozeki windows service. You can do this by launching the services.msc command in windows. In the service manager select the Ozeki service from the list. After this click Stop on the left.
Compress Ozeki Logs folder
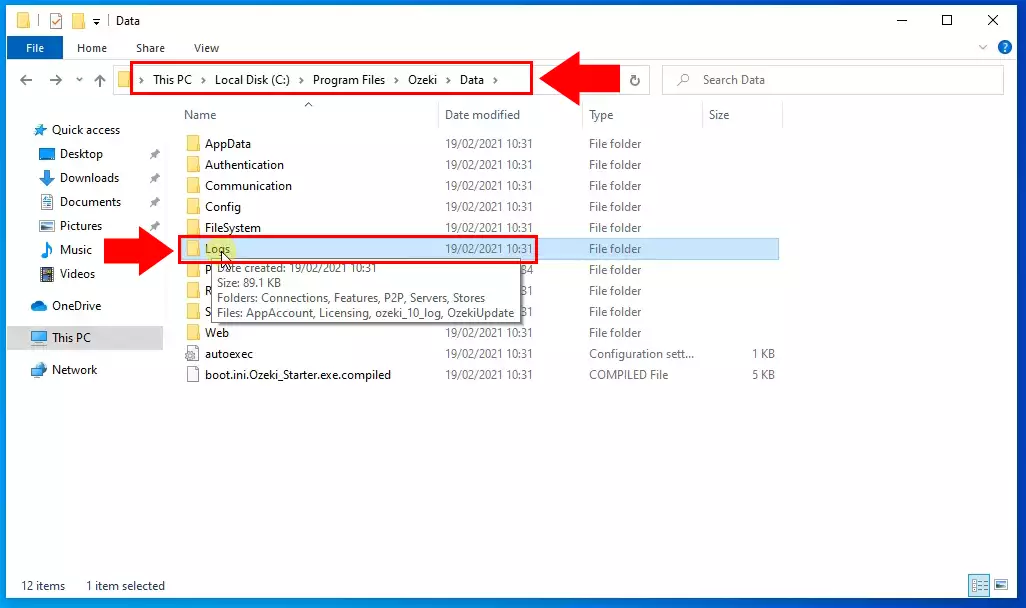
Once the Ozeki service is stopped, you need to locate the Ozeki logs folder. You can find it in the C:\Program Files\Ozeki\Data. The name of the folder is C:\Program Files\Ozeki\Data\Logs.
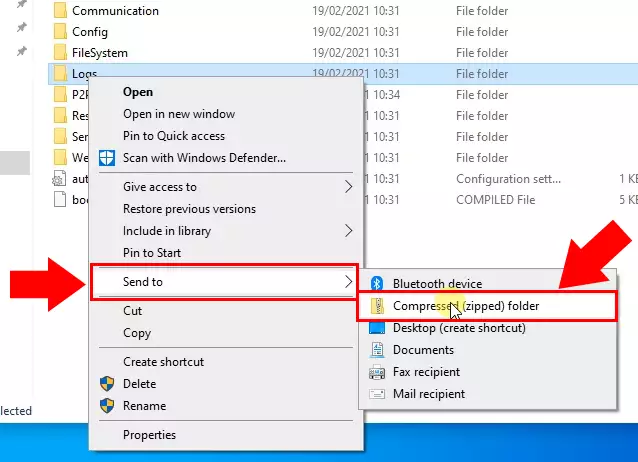
Then you have located the Logs folder, compress it into a Zip file. Right click on the folder then select "Send to" and "Compressed (zipped) folder".
Send Logs in E-mail
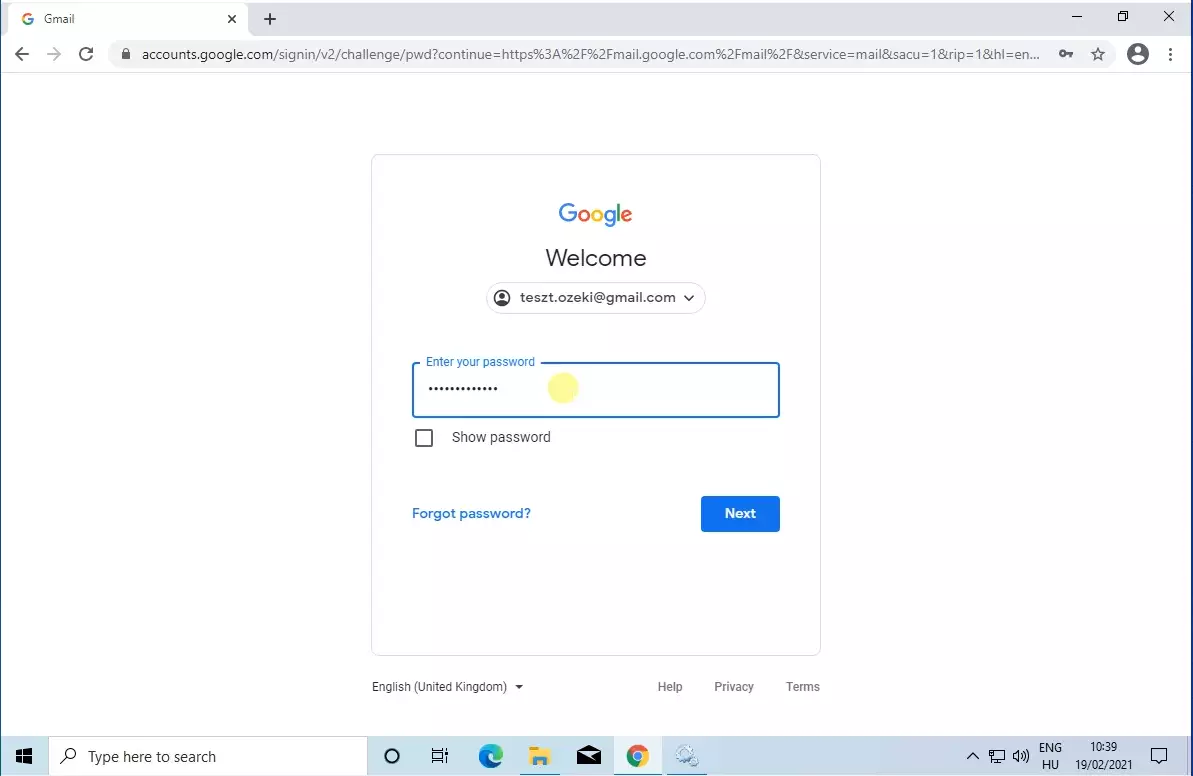
Now open your E-mail account. In this example we use the Gmail service.
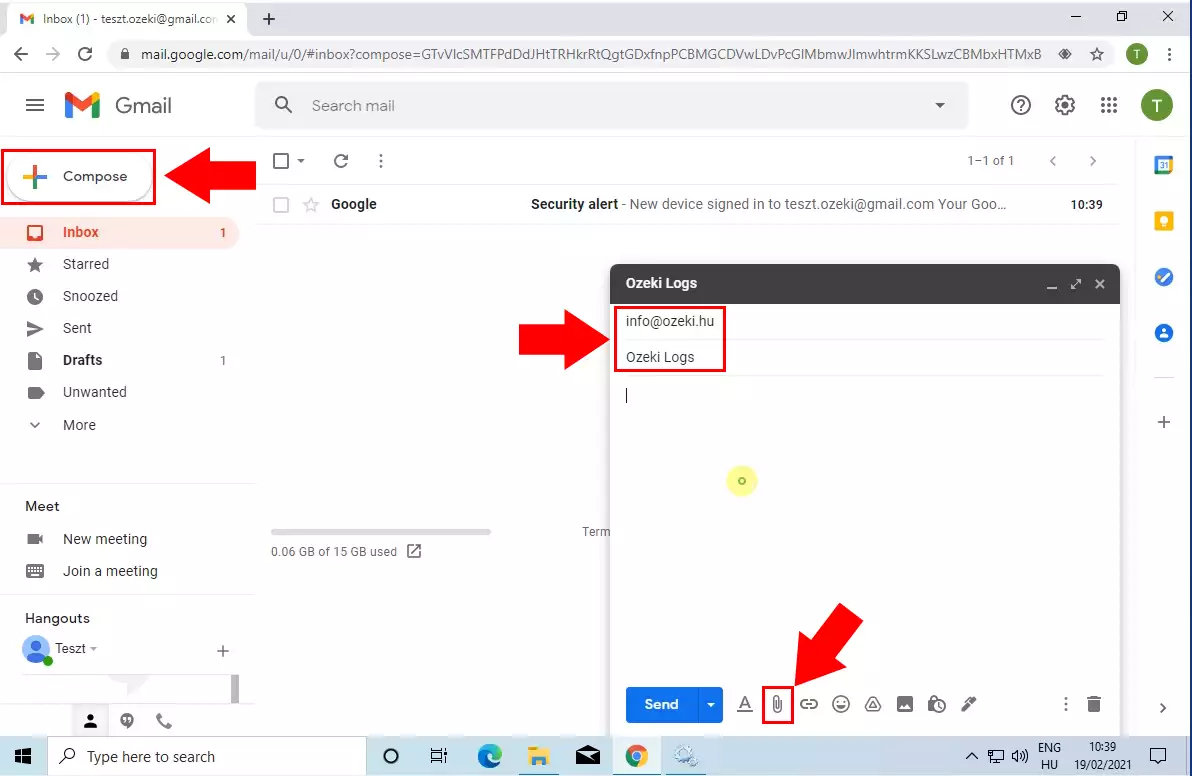
In the Gmail service select the Compose button to create a new message. A new window will pop up on the bottom right corner. In this window specify the recipient and the subject. Please send your e-mail to: info@ozeki.hu. Finally select the Attachment icon and browse the zipped Logs file from your file system.
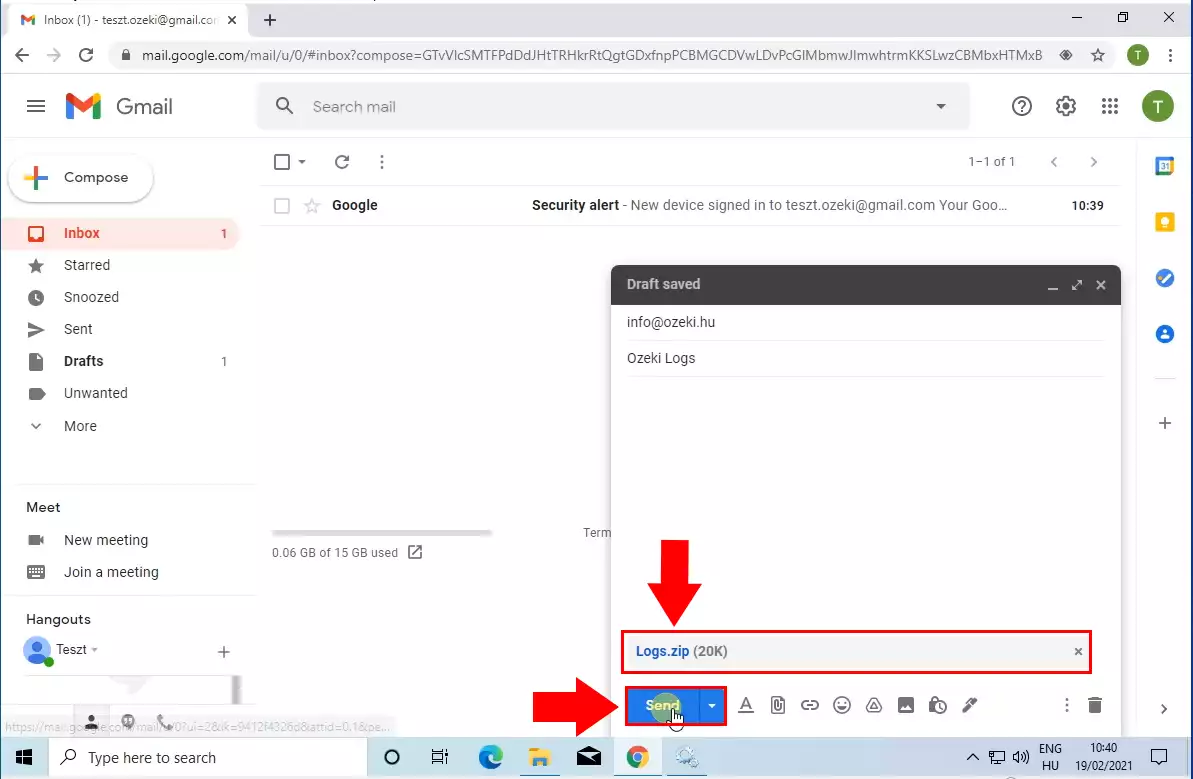
After the file is uploaded click on the send button to send the e-mail to the info@ozeki.hu.
How to restart the Ozeki service after the logs are sent
Finally, you need to start the Ozeki service again under the services.msc. Select the Ozeki service from the list and click Start on the left side.
