How to send sms from F#
The simplest way to send SMS from F# is to use the built in HTTP/Rest SMS api of Ozeki SMS Gateway. When you use this API, you will send SMS messages by issuing a HTTP Post request to the SMS gateway. The HTTP Post request will contain a message formatted in json format. The SMS gateway will send this SMS to the recipient phone, and it will return a HTTP 200 OK response to your request.

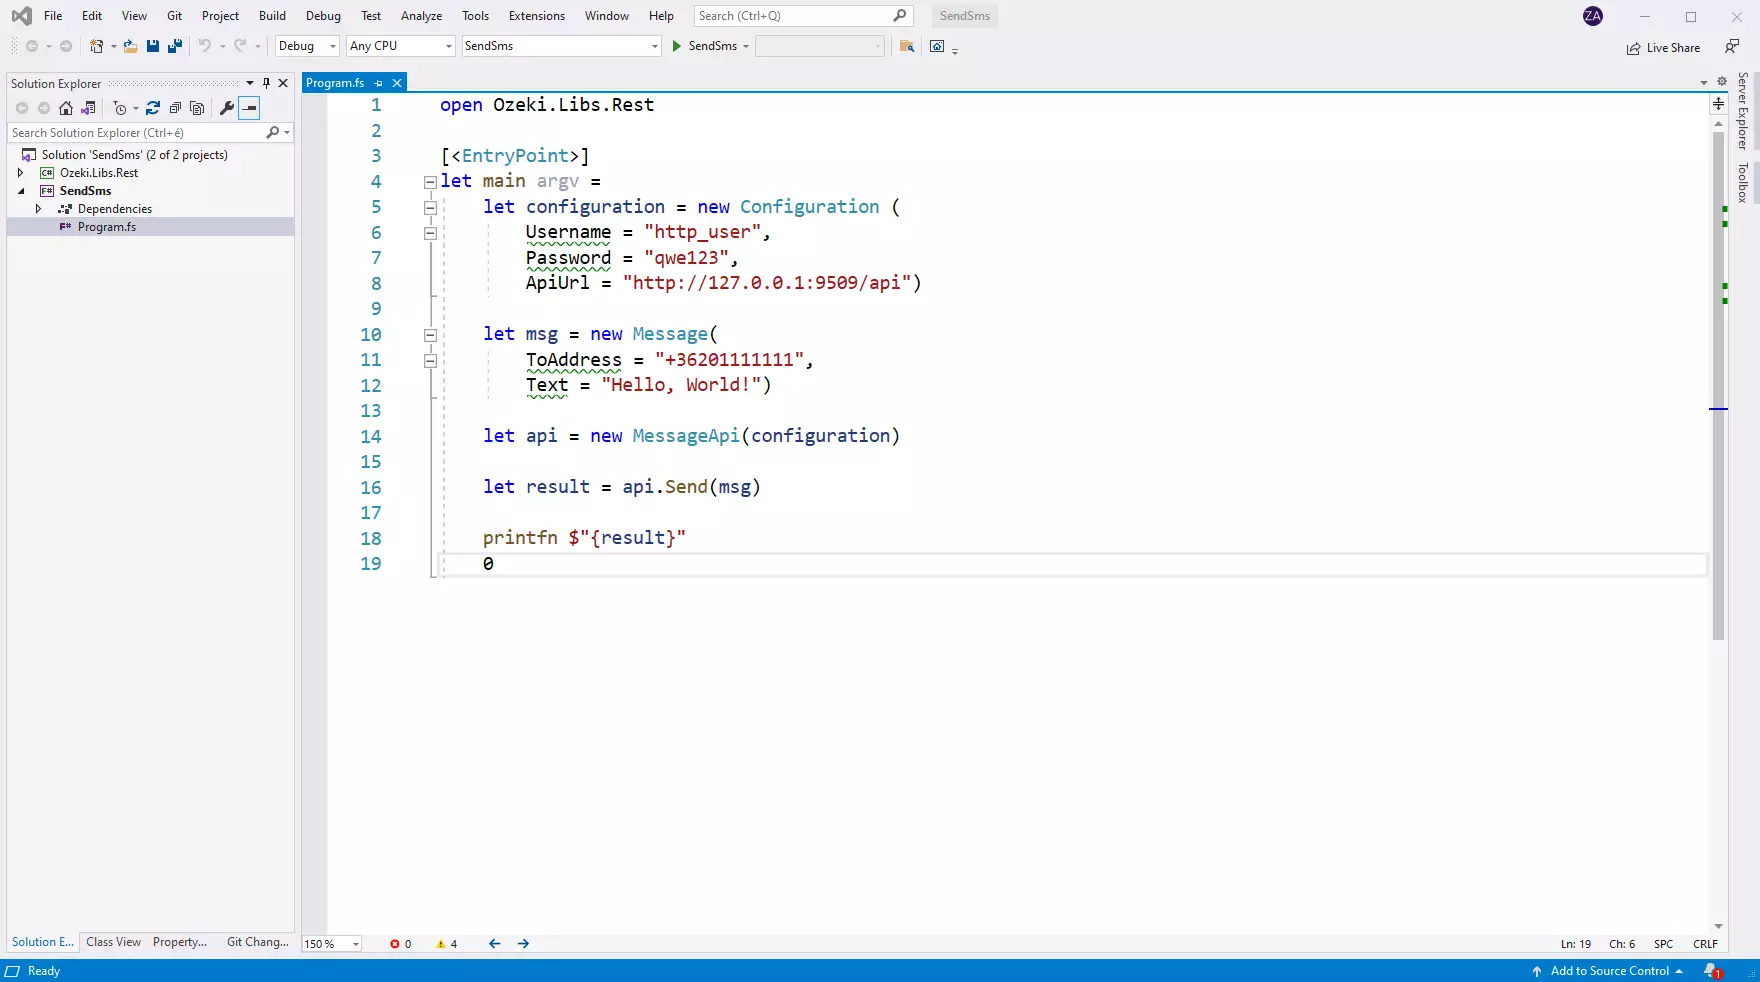
F# send sms code example
Program.fsopen System open Ozeki.Libs.Rest [] let main argv = let configuration = new Configuration ( Username = "http_user", Password = "qwe123", ApiUrl = "http://127.0.0.1:9509/api") let msg = new Message( ToAddress = "+36201111111", Text = "Hello, World!") let api = new MessageApi(configuration) let result = api.Send(msg) printfn $"{result.ToString()}" 0
Download SendSms.fs
The source code explained in this article can be downloaded and used and modified free of charge.
Download: SendSms.fs.zip (59.4Kb)
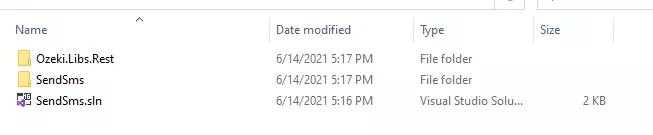
What is in the SendSms.fs.zip file?
The SendSms.fs.zip file contains the Ozeki.Libs.Rest library, which gives you all the tools necessary to send and receive SMS messages. You will also find the SendSms project in the zip, which contains the example code to show you how to send an SMS. This example code is listed below.
How to send SMS from F# (Quick steps)
To send sms from F#:
- Install Ozeki SMS Gateway
- Connect Ozeki SMS Gateway to the mobile network
- Send a test sms from Ozeki GUI
- Create a HTTP sms api user
- Start Visual Studio
- Create a solution called SendSms.sln
- Add a F# console project: SendSms.fsproj
- Put the code into Program.fs or SendSms.fs
- Read the HTTP response
- Check the logs in the SMS gateway
How to write your first F# program (Quick commands)
To write your first F# program:
- Setup Visual Studio
- Download the SendSms.fs.zip file
- Extract the .zip file from Downloads folder
- Open the SendSms.sln file in Visual Studio
- Launch Ozeki SMS Gateway application
- Click on HTTP user on Users and applications tab
- Run SendSMS.fs in Visual Studio
- Check the Sent box in Ozeki SMS Gateway
- Select SMPP client connection on the home page
- Tick all Log level check box on Configure menu's Advanced tab
- Run Program.fs again in Visual Studio
- Find the event if the recipient Received your message
Install Ozeki SMS Gateway and create an HTTP API user
To be able to send SMS from F#, first you need to install Ozeki SMS Gateway. The SMS gateway can be installed on the same computer, where you develop your F# code in Visual studio. After installation, the next step is to connect Ozeki SMS Gateway to the mobile network. You can send a test sms from the Ozeki GUI to verify, that your mobile network connection works. The final step to prepare your environment is to create a HTTP sms api user. Create a user with a username of "http_user", and with a password of "qwe123" to make the example work without modification.
After the environment is setup, you can run your F# code.
HTTP API url to use send sms from F#
To send SMS from F#, your F# will have to issue an HTTP request to the SMS gateway. The API url is shown below. Note that the IP address (127.0.0.1) should be replaced to the IP address of your SMS gateway. If Ozeki SMS Gateway is installed on the same computer where the F# sms application is running, this can be 127.0.0.1. If it is installed on a different computer, it should be the IP address of that computer.
http://127.0.0.1:9509/api?action=rest
HTTP authentication to use send sms from F#
To authenticate the F# sms client, you need to send the username and password in a base64 encoded string to the server in a HTTP request. The format used is: base64(username+":"+password). In C# you can use the following code to do this encoding:
var encoding = Encoding.GetEncoding("iso-8859-1");
var usernamePassword = username + ":" + password;
var usernamePasswordEncoded = Convert.ToBase64String(encoding.GetBytes(usernamePassword));
For example, if you encode the username 'http_user' and the password 'qwe123', you will get the following base64 encoded string: aHR0cF91c2VyOnF3ZTEyMw==. To send
HTTP request header to send SMS from F#
To send the SMS messages, you need to include the following lines as headers in the HTTP request. Note that we include a content type and an Authorization header.
Content-Type: application/json
Authorization: Basic QWxhZGRpbjpvcGVuIHNlc2FtZQ==
HTTP request to send SMS from F#
To submit the SMS, your F# application will send an HTTP request similar to the one below. Note, that this request contains a HTTP header part and a http body part. The HTTP body is a JSON encoded data string. It contains the recipient's number and the message's text.
POST /api?action=sendmsg HTTP/1.1
Connection: Keep-Alive
Content-Length: 336
Content-Type: application/json
Authorization: Basic aHR0cF91c2VyOnF3ZTEyMw==
Host: 127.0.0.1:9511

{
  "messages": [
    {
      "message_id": "9380ab2d-a185-4cc1-abad-c18ec459e40f",
      "to_address": "+36201111111",
      "text": "Hello, World!",
      "create_date": "2021-06-11 13:45:30",
      "valid_until": "2021-06-18 13:45:30",
      "time_to_send": "2021-06-11 13:45:30",
      "submit_report_requested": true,
      "delivery_report_requested": true,
      "view_report_requested": true,
      "tags": []
    }
  ]
}
HTTP response received by the F# sms example
Once the SMS gateway receives this request, it will generate a HTTP response. The HTTP response will contain a status code, to indicate whether the SMS submit request was successful or not. It will also return a JSON encoded structure to provide you useful details about the message's submission.
HTTP/1.1 200 OK
User-Agent: OZEKI 10.3.116 (www.myozeki.com)
Content-Type: application/json; charset=utf8
Last-Modified: Fri, 11 Jun 2021 13:06:37 GMT
Server: 10/10.3.116
Transfer-Encoding: chunked

{
  "http_code": 200,
  "response_code": "SUCCESS",
  "response_msg": "Messages queued for delivery.",
  "data": {
    "total_count": 1,
    "success_count": 1,
    "failed_count": 0,
    "messages": [
      {
        "message_id": "9380ab2d-a185-4cc1-abad-c18ec459e40f",
        "from_station": "%",
        "to_address": "+36201111111",
        "to_station": "%",
        "text": "Hello, World!",
        "create_date": "2021-06-11 13:45:30",
        "valid_until": "2021-06-18 13:45:30",
        "time_to_send": "2021-06-11 13:45:30",
        "submit_report_requested": true,
        "delivery_report_requested": true,
        "view_report_requested": false,
        "tags": [
          {
            "name": "Type",
            "value": "SMS:TEXT"
          }
        ],
        "status": "SUCCESS"
      }
    ]
  }
}
How to send SMS from F# (Video tutorial)
This video shows you how to create a new .Net core console project in Visual Studio, how to name it to SendSms.sln. Once the solution is created, you might notice that a SendSms.fsproj is added to the solution, and by default the Program.cs file is opened. You can rename the Program.fs to SendSms.fs if you wish. You will also see in the Video, how the example code below can be copied into the Program.fs file, and how it can be compiled and executed.
SendSms.sln
The example code below is part of the SendSms.sln Visual Studio Solution. A visual studio solution can contain multiple projects and multiple files. In this solution there is only two projects: SendSms.fsproj, Ozeki.Libs.Rest.csproj, and one file: Program.fs.
How to check that the SMS has been accepted by the HTTP user
After the SMS has been submitted, it is a good idea to check your SMS gateway, to see what it has received. You can check the log by opening the HTTP user's details from the Ozeki SMS Gateway management console. The following video shows you what to look for.
How to check that the SMS has been sent to the mobile network
The final step in verifying the procedure is to take a look at the logs of the mobile network connection. You might have to turn on logging in the configuration of the connection before you send the message to see the logs. If logging is enabled, you will see the phone number and the text of the message you have sent.
Runing the F# sms example on Windows
When you use windows to run this sms example written in F#, you will notice that you get slightly better performance, than when you run it on Linux. To understand why this happens, you must bring into mind that F# is using the .NET framework for code execution. This is because the .NET implementation on Windows is optimized for performance, while mono, the .NET implementation on Linux has some catching up to do in this field.
Conclusion
The article above showed the steps of SMS sending in F#. With the given instruction, message sending with F# and Ozeki SMS Gateway is fast and simple. Ozeki SMS Gateway offers excellent logging capabilities, so errors can be tracked down easily. You or your organization can reach out to customers in a rapid way with this solution, and as it could be seen, being an expert in F# is not necessary.
To continue studying, visit Ozeki's tutorial page, where there is more information can be found about working with F#, such as multiple SMS sending and SMS scheduling.
Now your only thing to do is to download Ozeki SMS Gateway and let the work begin!