MySQL basics
The following commands can be used to setup a MySQL server on an Ubuntu Linux distribution to be used with Ozeki 10. These commands should be executed in a root command shell. To get a root shell on the Ubuntu desktop, open the terminal app and type "sudo bash".
What is MySQL?
An open-source relational database management system called MySQL is used to store and manage structured data. It uses SQL for data processing and retrieval, and it stores records in tables with rows and columns. MySQL is a well-liked alternative for many applications, from web development to data warehousing, because of its performance, scalability, and broad acceptance.
Install the MySQL server
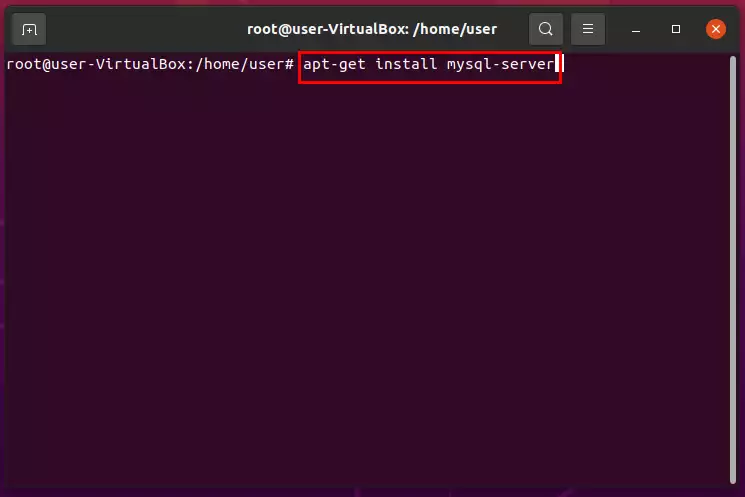
# apt-get install mysql-server
The first step is to install the MySQL server on your Ubuntu system using the apt-get package manager. This is a command-line tool used to handle packages on Debian-based Linux distributions like Ubuntu. It's used to install, upgrade, or remove software packages. For managing packages on Debian-based Linux distributions like Ubuntu, use the command-line program 'apt-get'. Software products can be installed, upgraded, or removed using it. 'install': This is the action you're asking apt-get to perform. It tells apt-get that you want to install a package. This is the name of the package you wish to install: 'mysql-server'. That is the MySQL server package in this instance. Combining everything, the apt-get install MySQL-server program will download and install the MySQL server package along with any dependencies.
Login to the MySQL server
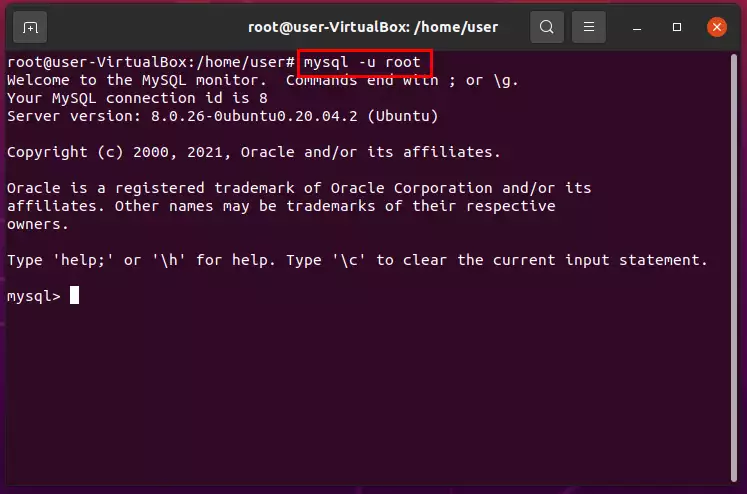
# mysql -u root
Log in to the MySQL server using the mysql command with the -u flag to specify the username. Here's how the command works: The command-line program used to communicate with MySQL databases is called 'mysql'. The command's '-u root' option provides the login username you wish to use. In this instance, you are making use of MySQL's standard superuser account, "root". Putting it all together, when you run the command mysql -u root, you're instructing the MySQL client to connect to the MySQL server using the "root" user account.
Create the Ozeki database
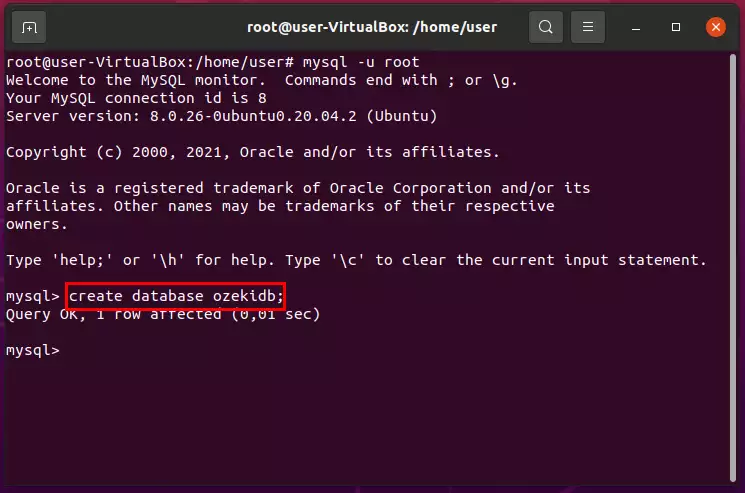
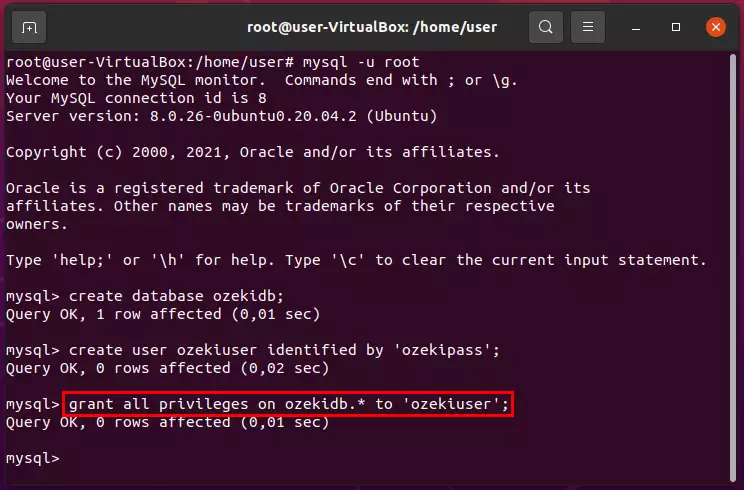
mysql> create database ozekidb;
Create a database named "ozekidb" in the MySQL server. You may communicate with the MySQL server directly by typing "mysql>" at the command prompt for MySQL. 'create database ozekidb;': The "ozekidb" database is created with this command. Putting it all together, when you run the command create database ozekidb; within the MySQL command prompt, you are instructing MySQL to create a new database named "ozekidb."
Create the Ozeki user with the password abc123
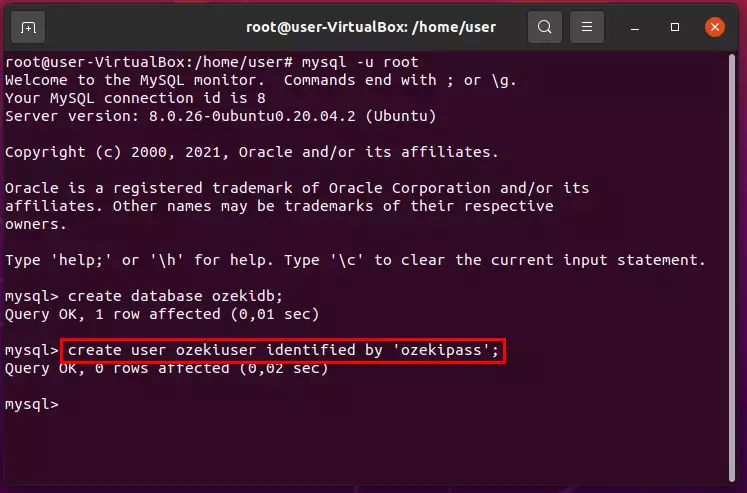
mysql> create user Ozeki user identified by 'ozekipass';
Once you're in the MySQL command prompt, create the "ozekiuser" user with the password "ozekipass". This command is used to create a new user named "ozekiuser" and sets the user's password to "ozekipass."
Let the Ozeki user access to Ozeki database
mysql> grant all privileges on ozekidb.* to 'ozekiuser';
'mysql>': This is the MySQL command prompt that indicates you are interacting directly with the MySQL server. 'grant all privileges on ozekidb.* to 'ozekiuser';': This command grants all privileges on the "ozekidb" database to the user "ozekiuser". Within the MySQL command prompt, you are instructing MySQL to grant all privileges on the "ozekidb" database to the user "ozekiuser."
Configure remote access for MySQL
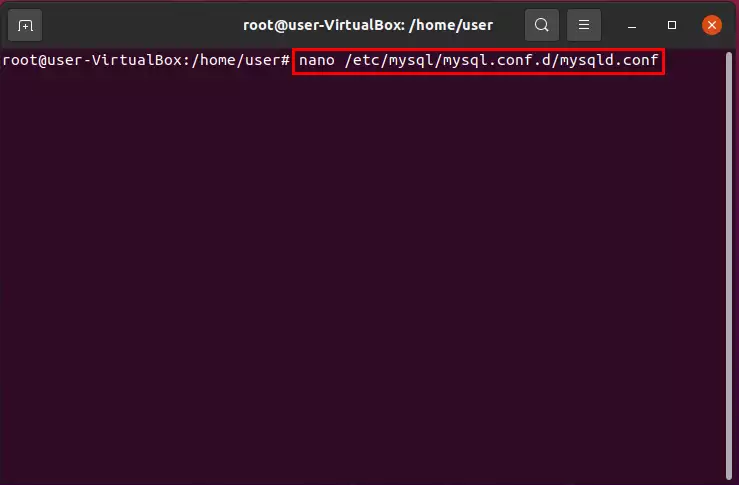
# nano /etc/mysql/mysql.conf.d/mysqld.conf
change the bind address to 0.0.0.0
Configure remote access for MySQL on Ubuntu by modifying the 'mysqld.conf configuration file. nano /etc/mysql/mysql.conf.d/mysqld.conf': This command opens the 'mysqld.conf' file using the nano text editor. The file is located in the '/etc/mysql/mysql.conf.d/' directory and contains MySQL server configuration settings. Locate the bind-address parameter in the 'mysqld.conf' file and changing its value to 0.0.0.0. This change allows the MySQL server to listen on all available network interfaces, which enables remote access.
Restart MySQL
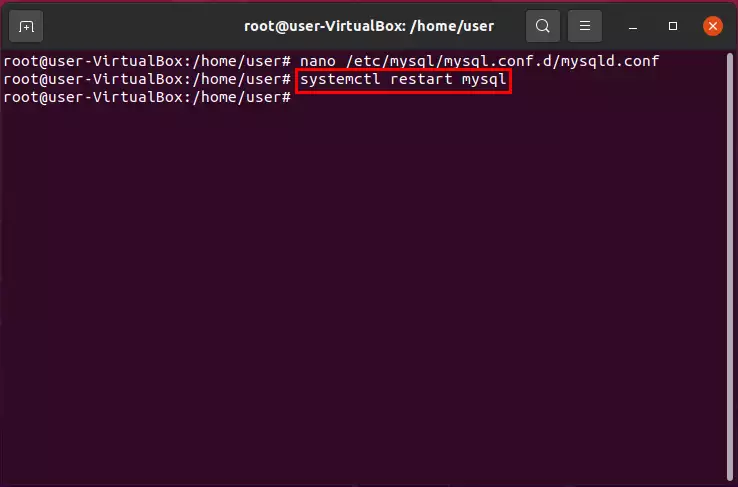
# systemctl restart mysql
This command tells systemd to restart the MySQL service. The "mysql" here is the service name for MySQL as recognized by systemd. When you run the command 'systemctl restart mysql', the MySQL service will be stopped and then started again. If you see that the service is active and running, the restart was successful.
Check if MySQL listens on port 3306
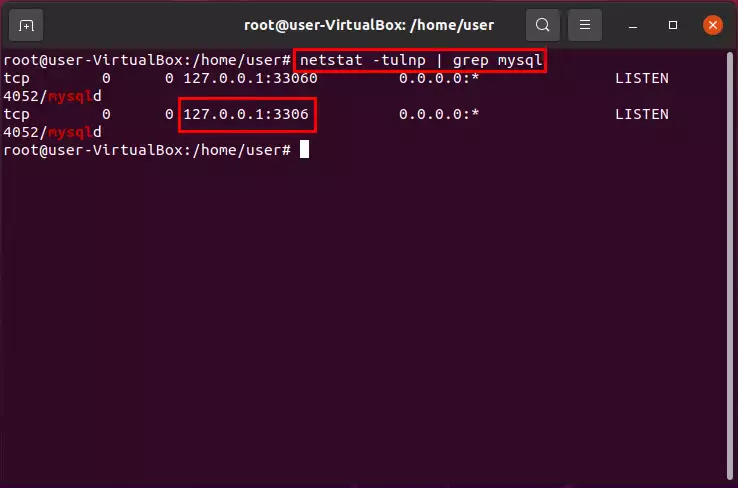
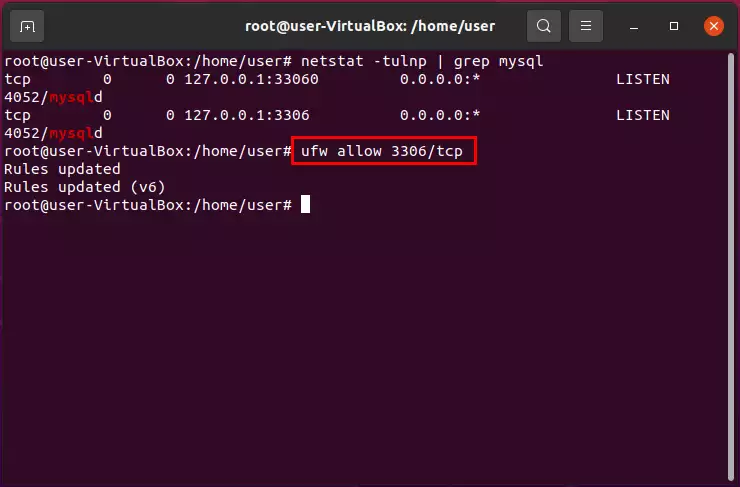
# netstat -tulnp | grep mysql
Check if MySQL is listening on port 3306 by using the netstat command with the grep filter. 'netstat -tulnp': This command displays active network connections and listening ports. '|': This symbol is used to pipe the output of the netstat command to another command. 'grep mysql': This command searches for the string "mysql" in the output of the netstat command. If MySQL is indeed listening on port 3306, you should see an output line similar to this: '127.0.0.1:3306 0.0.0.0:* LISTEN'.
Allow port 3306 in your firewall
# ufw allow 3306/tcp
The provided command uses ufw (Uncomplicated Firewall) to allow incoming connections on port 3306 for TCP traffic. 'ufw allow 3306/tcp': This command adds a rule to the firewall to allow incoming TCP traffic on port 3306. In this case, the command 'ufw allow 3306/tcp' specifically allows incoming TCP traffic on port 3306. After executing this command, the firewall will permit incoming connections on port 3306, which is the default port used by MySQL for communication.
Find out the IP address of your Linux box
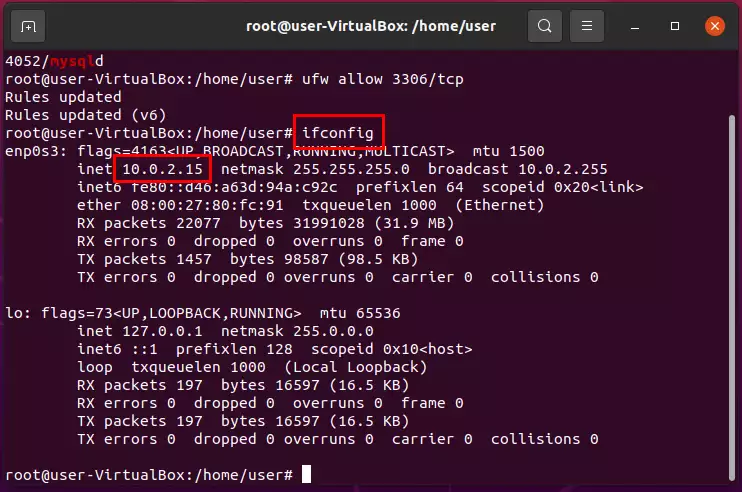
# ifconfig
The provided command, ifconfig, is used to display network interface information, including IP addresses, on Linux systems. Find out the IP address of your Linux box. In that section, you will see a line that starts with "inet" followed by an IP address. This is your Linux box's IP address on that interface, like this: 'inet 10.0.2.15 netmask 255.255.255.0 broadcast 10.0.2.255'
FAQs
What is MySQL used for?
A popular relational database management system (RDBMS) for storing, controlling, and retrieving structured data is called MySQL. It is frequently used to power backend databases, e-commerce platforms, content management systems, and other components in online applications. MySQL is a foundational technology for dynamic and data-driven applications because it makes efficient data storage, retrieval, and manipulation possible.
Is MySQL different from SQL?
Yes, MySQL and SQL are different but related concepts. Structured Query Language, or SQL for short, is a standardized language used to interact with and query databases. The relational database management system (RDBMS) known as MySQL, on the other hand, uses SQL as its query language.
Is MySQL a coding?
MySQL is a relational database management system, not a programming language (RDBMS). Nevertheless, MySQL utilizes the SQL (Structured Query Language) programming language specifically for querying and interacting with its databases. Although MySQL is the software system that handles the databases, SQL is used to create, change, and retrieve data from the MySQL databases.
Summary
This guide provides a comprehensive setup process of MySQL server on an Ubuntu Linux distribution for use with Ozeki SMS Gateway. It explains the process step by step, from installing MySQL to configuring remote access and ensuring the MySQL server is functioning correctly. The goal of the guide is to enable users to set up a functional MySQL server for use with the Ozeki SMS Gateway software.
