How to change the SMS recipient number
This document is going to show how you can change the recipient phone number using the sms routing table. With this operation, you can ensure for example that any outgoing message from your SMS Gateway system will be received by a specified phone number. This feature is also useful when you changed your phone number and you would like to redirect the messages sent to your old phone number to the new phone number. The guide demonstrates how you need to configure the routing rule to change the recipient number and how to test the solution. It does not take more than five minutes to complete this guide, so let's start right now!
How to change the SMS recipient number
To change the SMS recipient number:
- Launch Ozeki SMS Gateway
- Select a routing rule
- Click on the Modify tab
- Replace the SMS recipient number
- Compose new SMS message
- Type the Address and the message
- Send test SMS
- Check the logs
Step 1 - Open a routing rule
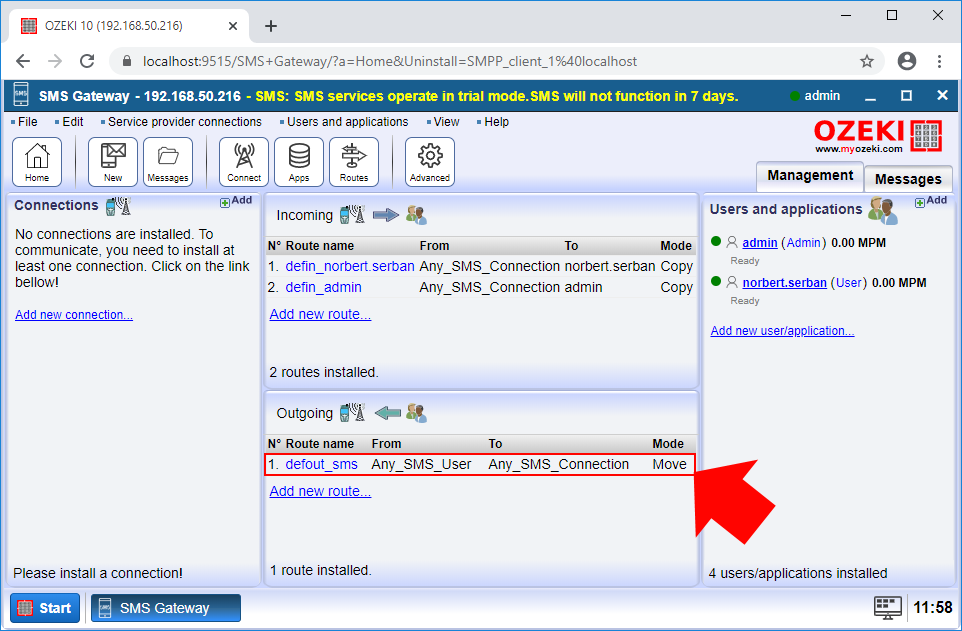
The first step is to select a route that you want to modify. If you are not familiar with routing rules, here you can learn about SMS routing in SMS Gateway. SMS Gateway creates default routes, so you can simply select the default outgoing route as you can see it in Figure 1.
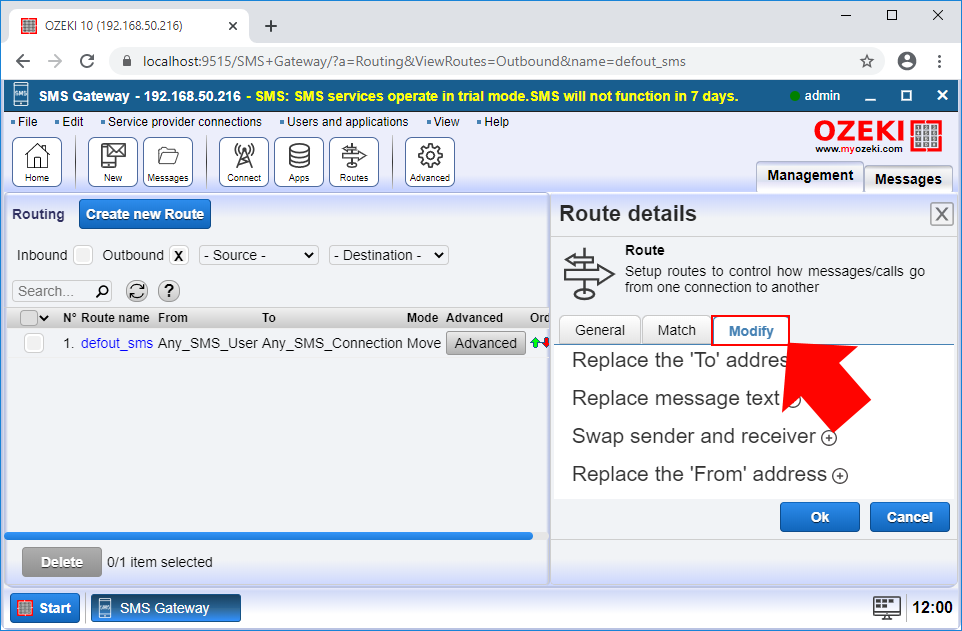
Here, you can see the setting menu of the routing rule. To be able to modify the messages on this route, you just need to select the Modify tab as you can see it in Figure 2.
Step 2 - Configure the recipient phone number
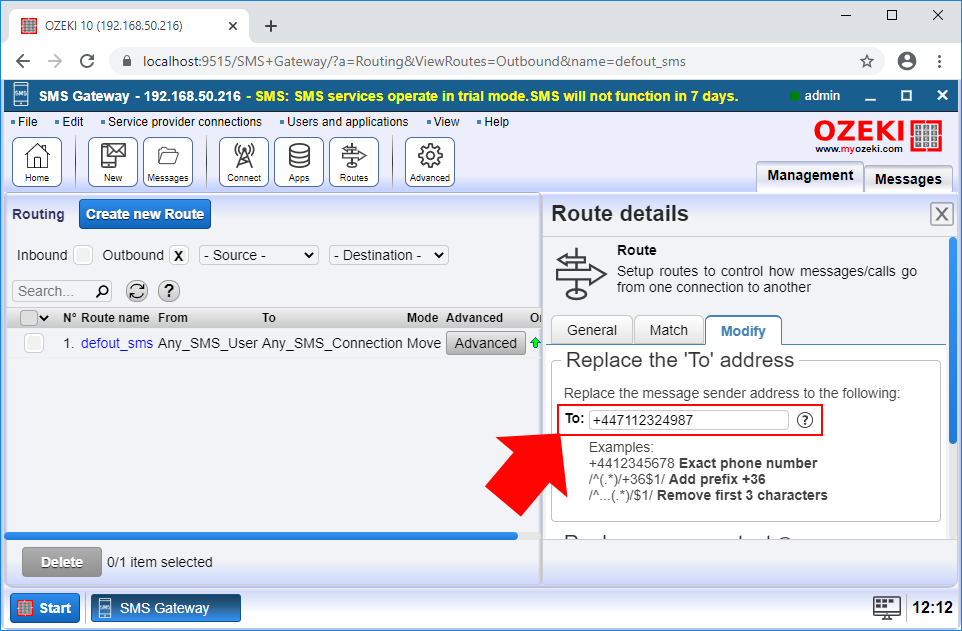
In the Modify menu, you can perform all modifying operation for the outgoing messages. At this point, you need to select the 'Replace the 'To' address' submenu like in Figure 3, and here, you can just type the phone number that you want to receive every outgoing message. Finally, just click on OK to save the modifications.
Step 3 - Send a test message
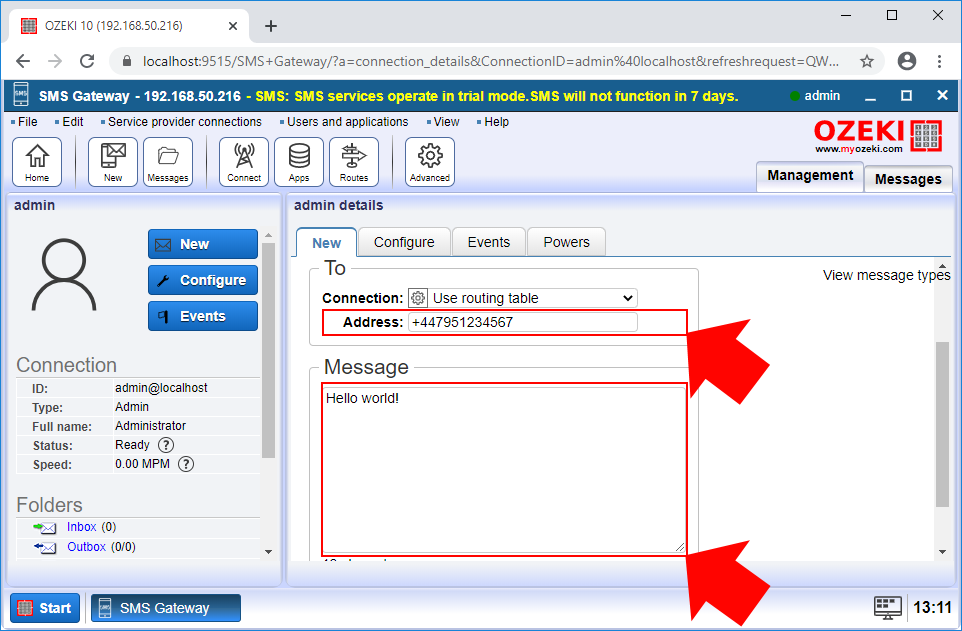
After you configured the outgoing routing rule, you just need to write a test message. For that purpose, you can set up a SMPP client, which will forward the message to the recipient. Here, you can learn how to set up a SMPP client connection. To write the message, just open the admin account, and like in Figure 4, just write a simple message to test the solution.
Step 4 - View the results in the event log
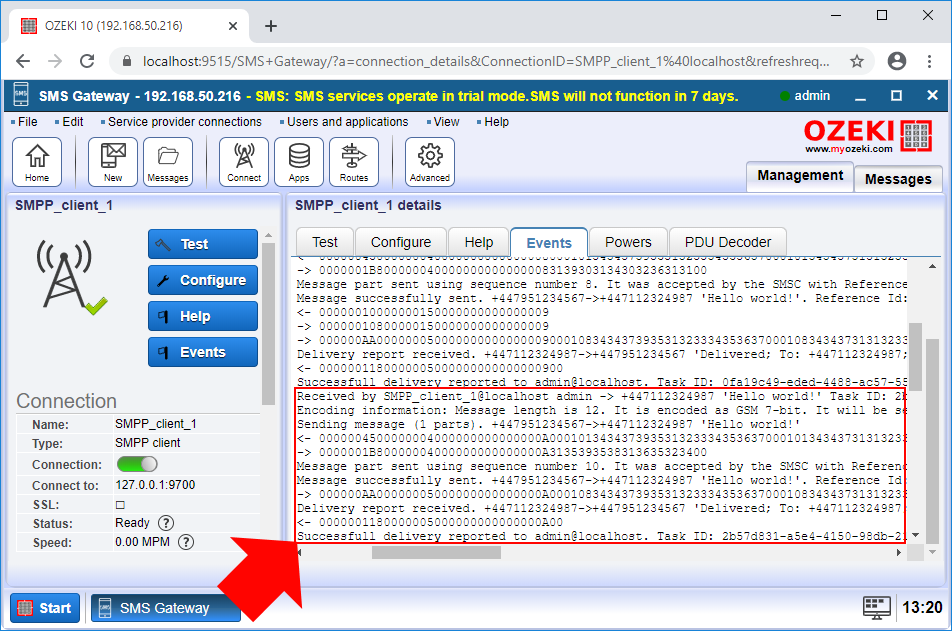
To check if the modifications worked, you need to open the SMPP client and select the Events tab. Here, you can see every event of the SMPP client connection. As Figure 5 shows that, the routing rule changed the recipient phone number, so the SMPP client forwarded the message to the modified phone number.
