How to authenticate users on the customer portal using Ozeki 10
This page gives you the instructions on how to authenticate the users on the Ozeki Customer Portal using the Authentication providers available in Ozeki 10. You can use the built in authentication ("Local system users") or Microsoft Active Directory, LDAP, Radius or MS SQL as the server to identify user accounts.
Step 1 - Switch authentication
Switch to Ozeki 10 authentication by adding the following lines to your config.php file in the customer portal's www directory. In default installations the path of the file is:
C:\wamp64\www\ozekiconfig\config.php
Add these lines to the config.php file
//**************************************************************
// Authentication
//**************************************************************
$auth_allowregistration = false;
$auth_provider = "ozeki10"; //default | ozeki10
$auth_url = "http://127.0.0.1:9509/api"; //only used if ozeki10
$auth_providername = "Local system users"; //only used if ozeki10
In the following video you will see, how to add authentication URL to the Ozeki Customer Port. Follow the steps and it will be easy to do these setups.
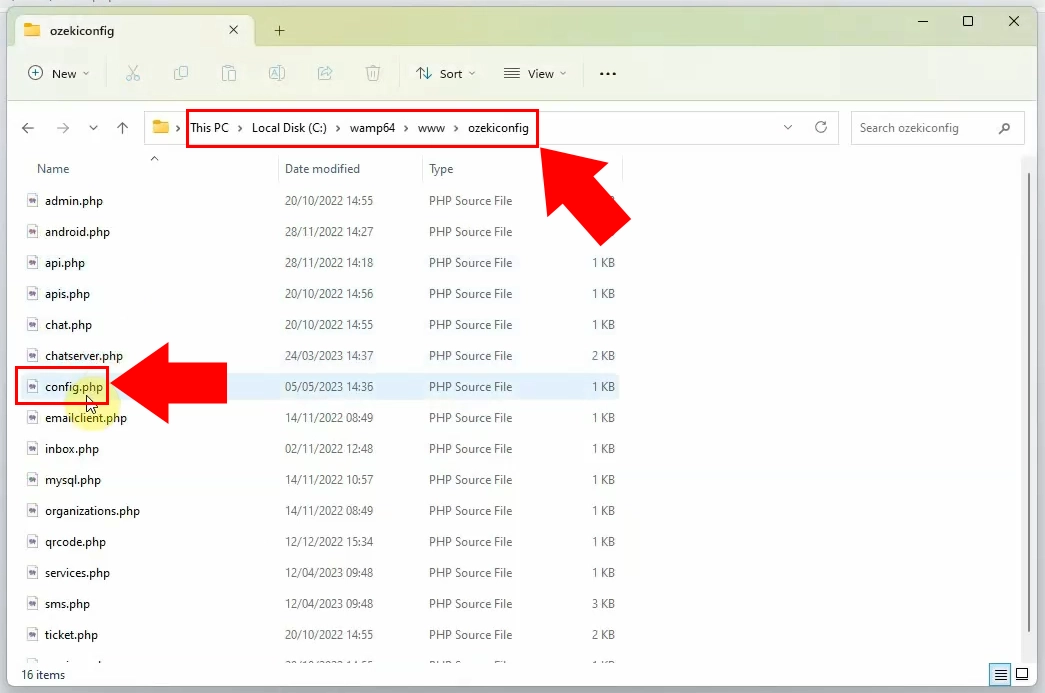
Open the config.php file, by reaching it through your PC's file manager. You need to choose the "ozekiconfig" folder at the disk, then select from the "wamp64" folder the folder named "www". Click on the "config.php" twice to view. (C:\wamp64\www\ozekiconfig\config.php)
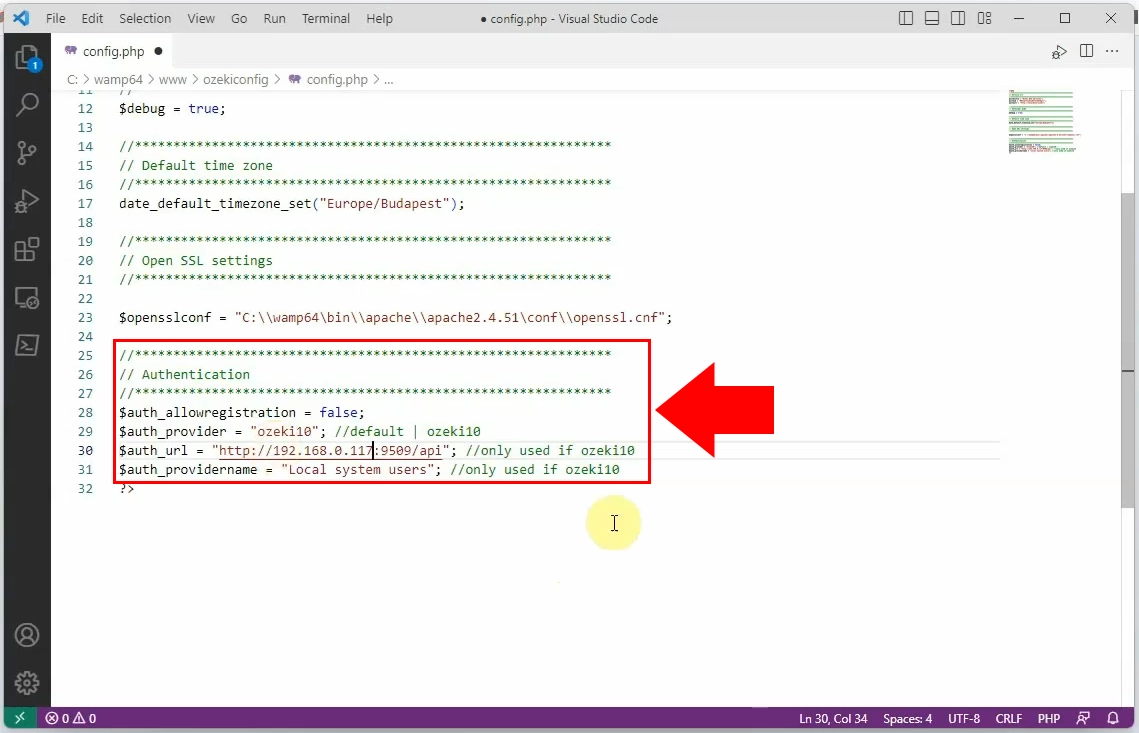
After opening the file named "config.php", you need to add the authentication codes
to the .php file. Copy the necessary lines that we have written above, then paste into
their required place.
Copy these lines below the already existing ones:
//**************************************************************
// Authentication
//**************************************************************
$auth_allowregistration = false;
$auth_provider = "ozeki10"; //default | ozeki10
$auth_url = "http://127.0.0.1:9509/api"; //only used if ozeki10
$auth_providername = "Local system users"; //only used if ozeki10
If you are done with it, then type the authentication URL code into the "auth_url" line. If it is ready, save the .php file.
Step 2 - Create HTTP API users in Ozeki 10
In this short video, we will show you how to create http api user in Ozeki 10 easily.
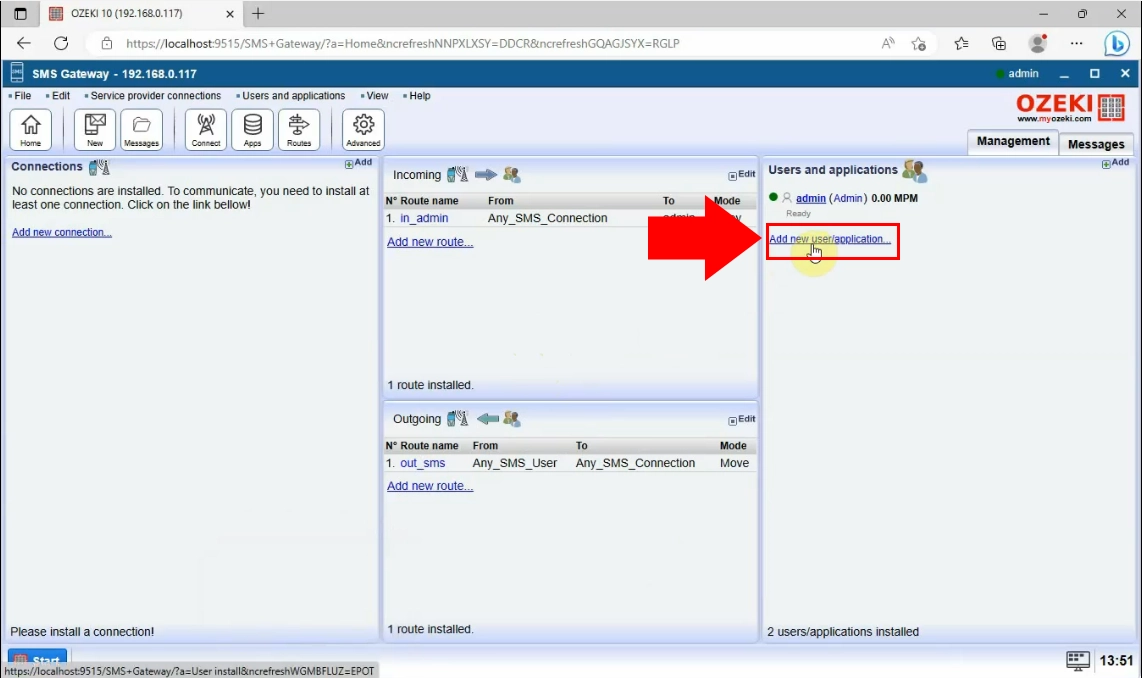
For the first, you need to log into your Ozeki SMS Gateway. At the right side of the Ozeki desktop, you have to choose the "Add new user/application..." link, highlighted in blue.
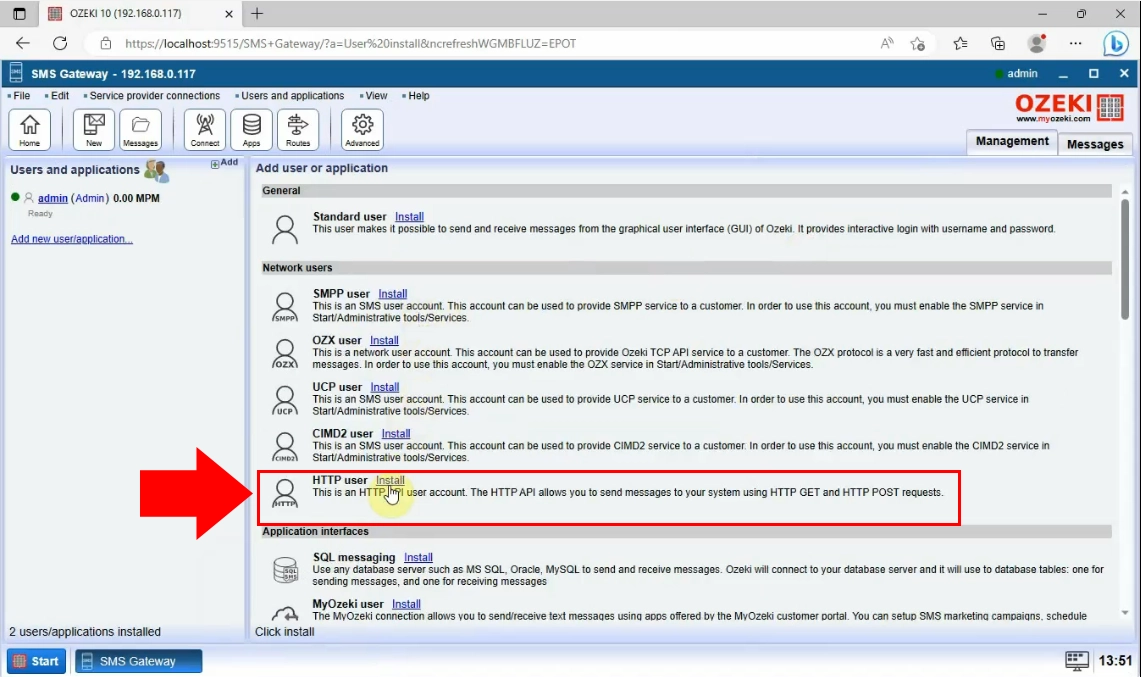
Now, choose the "HTTP user" option from the list of the install list and click on the "Install" link. This will allow you to send messages to your system.
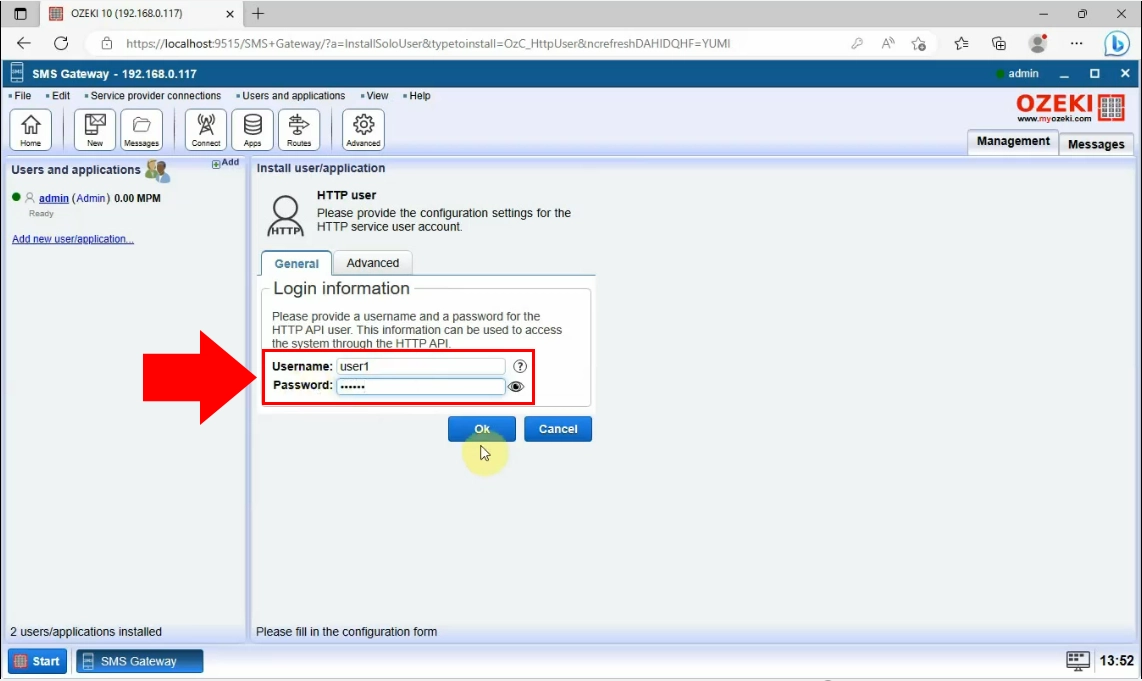
By clicking on the "HTTP user"link, a new page will bring up. There you have to type a unique username and password for the HTTP API user. This will help you to access the system through the HTTP API. If you are done, click on the "Ok" button below.
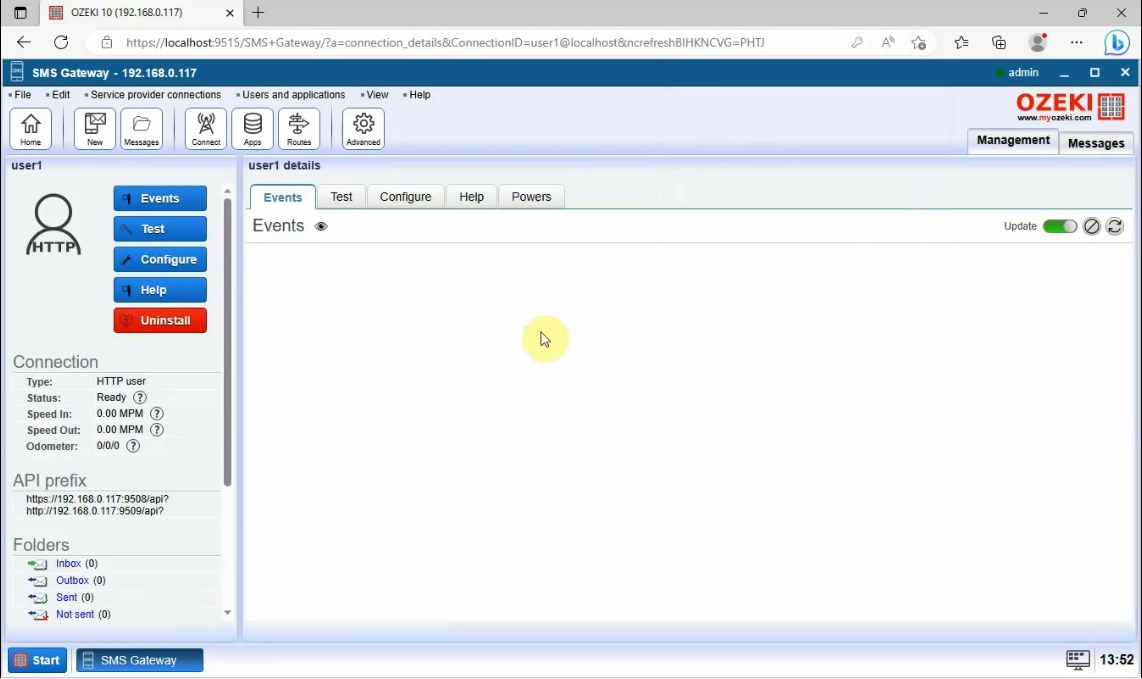
The HTTP users page will show up, where you can see all the information about it.
Step 3 - Login with the http api user account in the customer portal
This video explains to you, how to login to the customer portal with your HTTP API user account.
Load the Myozeki.com at your browser and log into your HTTP API user account.
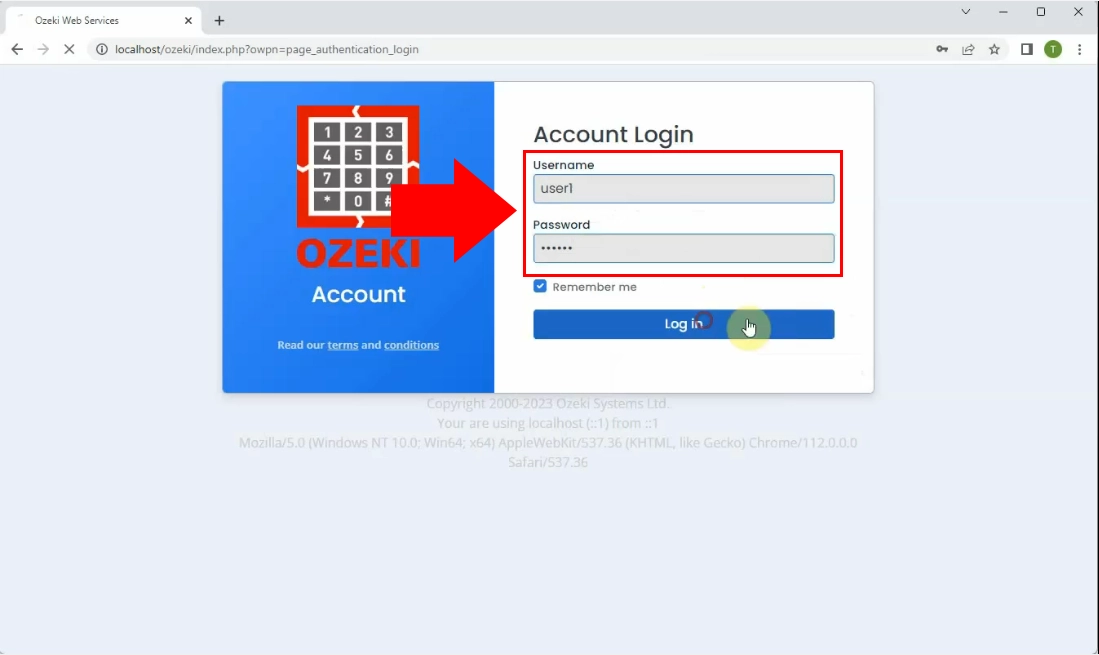
If the login was successful, your MyOzeki profile can be seen.
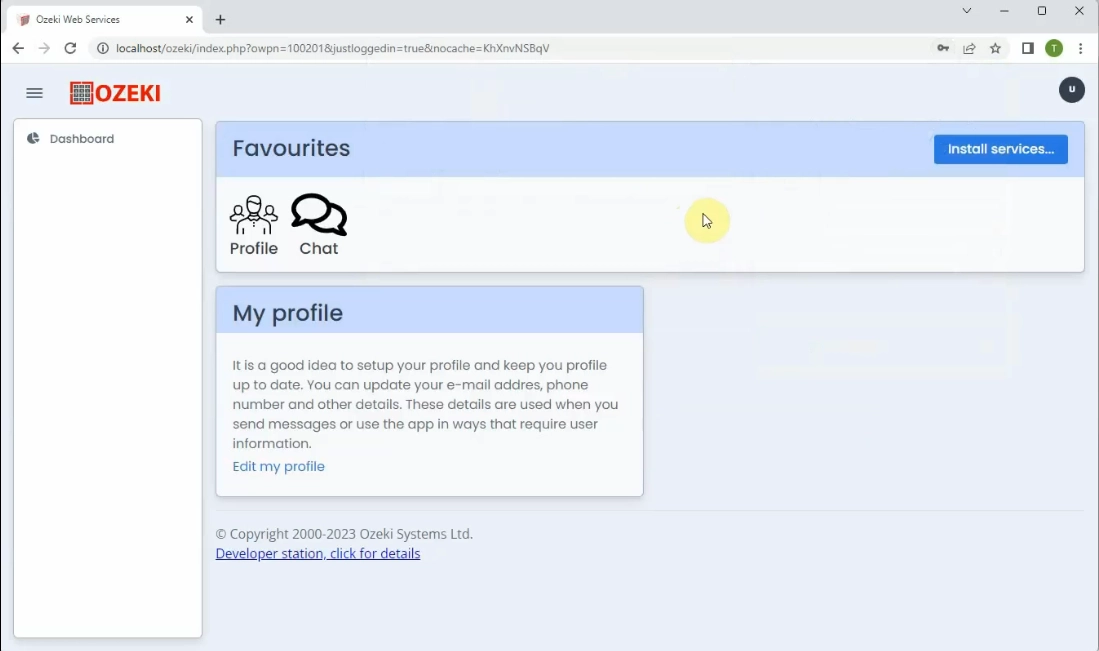
In the following step you have to open the Ozeki 10 server events at your Ozeki SMS Gateway. Choose the "View" option from the toolbar at the top of the page. By clicking on the "View" option, a list will drop down, from which you have to choose the "Server events" option.
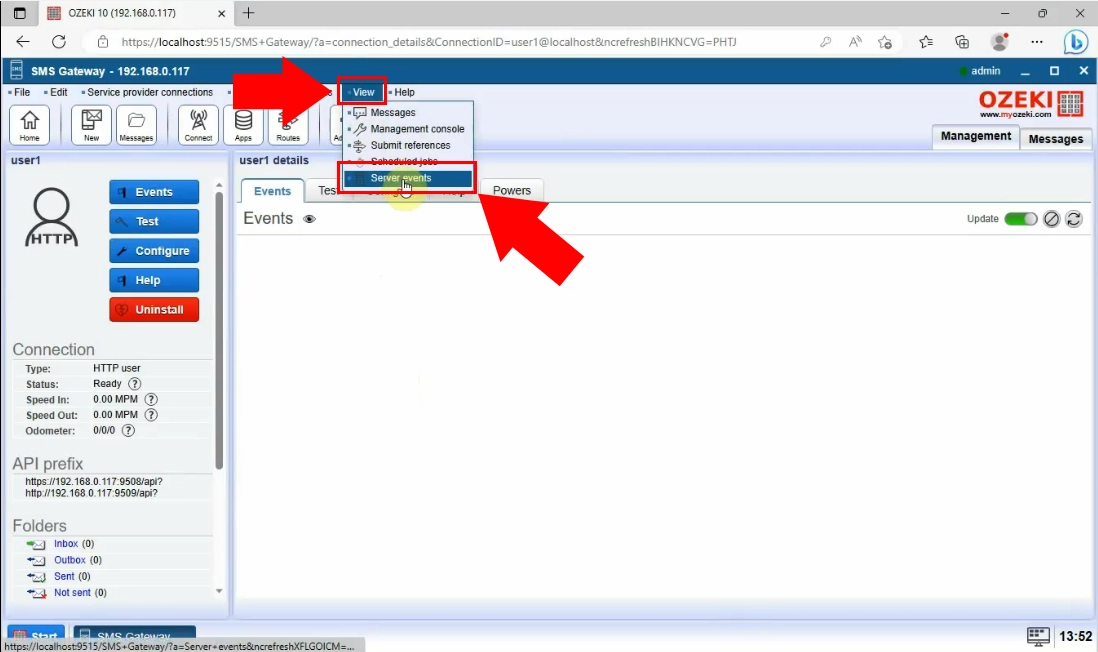
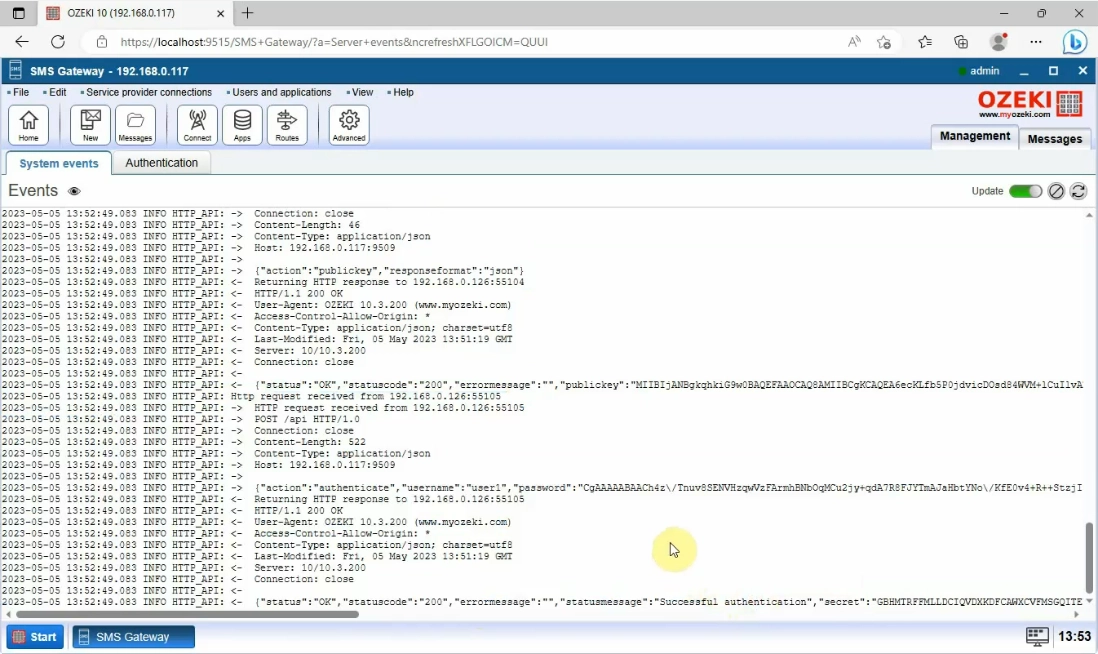
By clicking on the "Server events" option the System events will be show up. There
you can see each event of the user by date.
In order to see the authentication log information, scroll down to the "INFO HTTP_API"
section of the page.
