Configure Database User
In this video series you can see how to connect Ozeki SMS Gateway to an SQL Anywhere database server for SMS messaging. This video shows how to install and configure a Database User on Ozeki SMS Gateway. It is necessary to provide the connection string.
Video content1. Start SQL Anywhere server
2. Install Database User
3. Provide connection string
4. Connect to Database
What is SQL Anywhere?
SAP SQL Anywhere is an embedded relational database management system (RDBMS) that is designed to make it possible for database applications to run outside of traditional data centres. It is intended to run on PCs in satellite offices, mobile devices, and servers in smaller businesses such as restaurants and retail stores.
What is Ozeki SMS Gateway?
Ozeki 10 SMS gateway is a very reliable, high performance SMS gateway software for Windows and Linux. It can send or receive a massive amount of SMS messages in short time. With it you will get the highest performance, availability and security to run your most demanding SMS applications. It enables you to use your computer to send and receive SMS messages to and from mobile devices. It allows SMS messaging in two ways: directly connecting to the SMS Centre of a GSM service provider over the Internet or connecting to it using a GSM modem attached to the PC with a phone-to-PC data cable.
How to configure database user (video tutorial)
In this video tutorial you will learn how to configure a database user. This is done through Ozeki SMS Gateway. We are going to create and configure an SQL Anywhere messaging connection. Follow along the steps presented in this video to successfully implement the solution.
Open Ozeki SMS Gateway
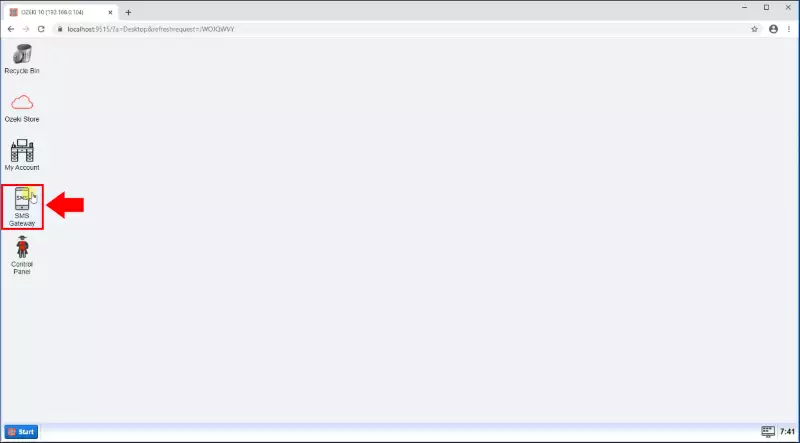
Click on Ozeki SMS Gateway in the Ozeki desktop to open the application (Figure 1).
Add new user
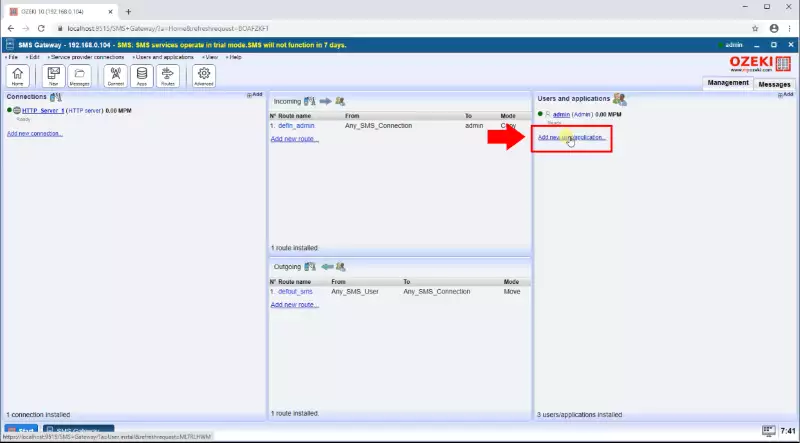
Click on Add new user or application on the right side of the window to add a new user (Figure 2).
Install SQL Messaging User
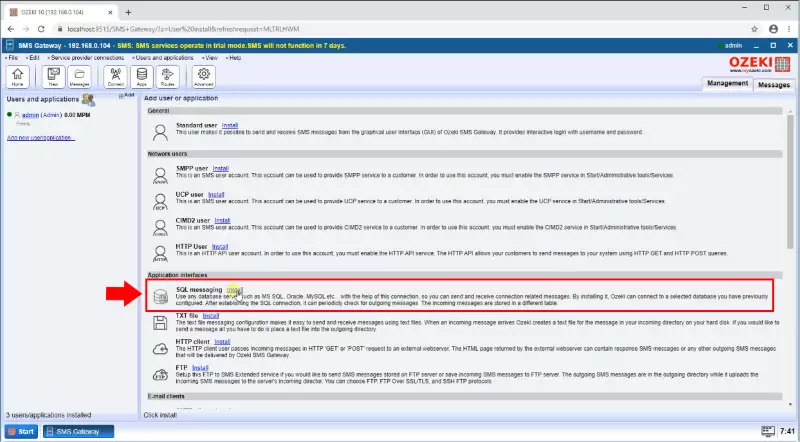
Scroll down and find SQL messaging under Application Interfaces (Figure 3). Click on Install highlighted in blue next to it. This will open up more options to search from SQL messaging connection.
Install SQL Anywhere Connection
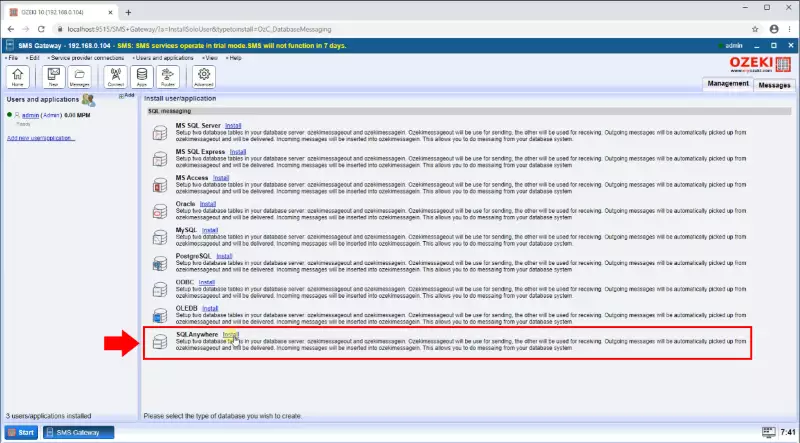
Scroll down and find SQL Anywhere (Figure 4). Click on Install highlighted in blue next to it. This will bring you to a configuration screen where you can set up your SQL Messaging user.
Define the SQL Anywhere database connection details
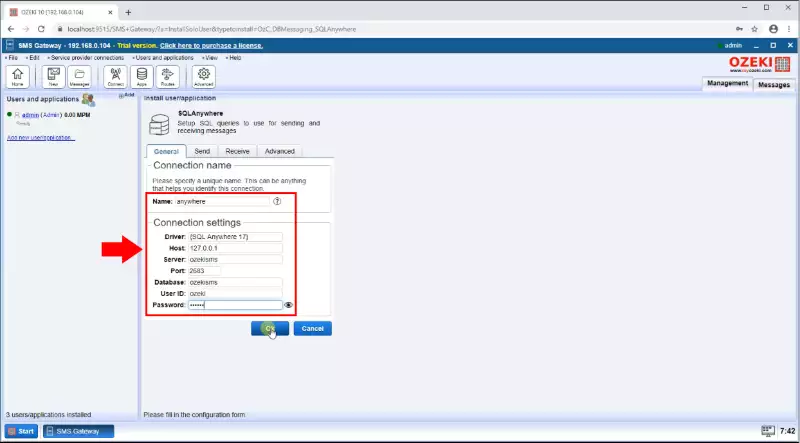
On this page you have to provide details for your SQL Anywhere connection (Figure 5). You need to enter the following details in the respective textboxes:
- Driver
- Host
- Server
- Port
- Database
- User ID
- Password
Enable SQL Anywhere connection
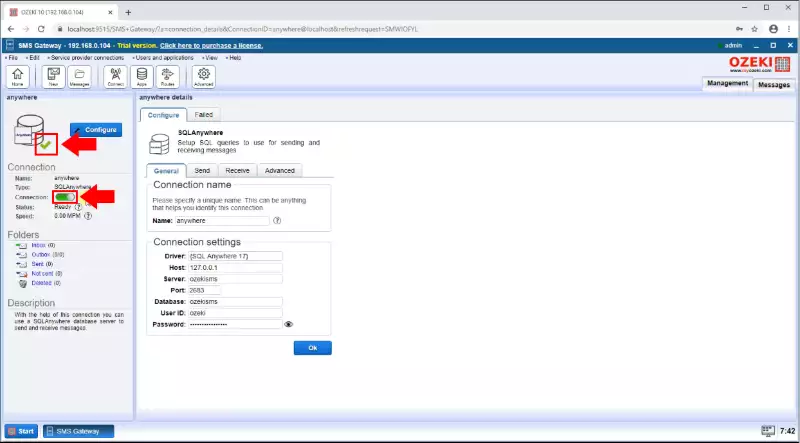
The final step is to enable the connection (Figure 6). Click on the switch button. The switch will turn green to indicate that the connection is active.
Summary
You have now completed this tutorial! We hope the information presented above has helped you implement this solution successfully and efficiently. For more information on Ozeki SMS Gateway and our other systems and solution, make sure to check out our various other guides and tutorials.
